
Why a Commodore Rebuild?
I’m not even really sure why I wanted to do this project to begin with. One day, I get this random idea that I want to turn an old Commodore into a current working Hardware. Seemed like a fun challenge and I needed a silly project to get me through COVID-19 Quarantine so I started planning it out.
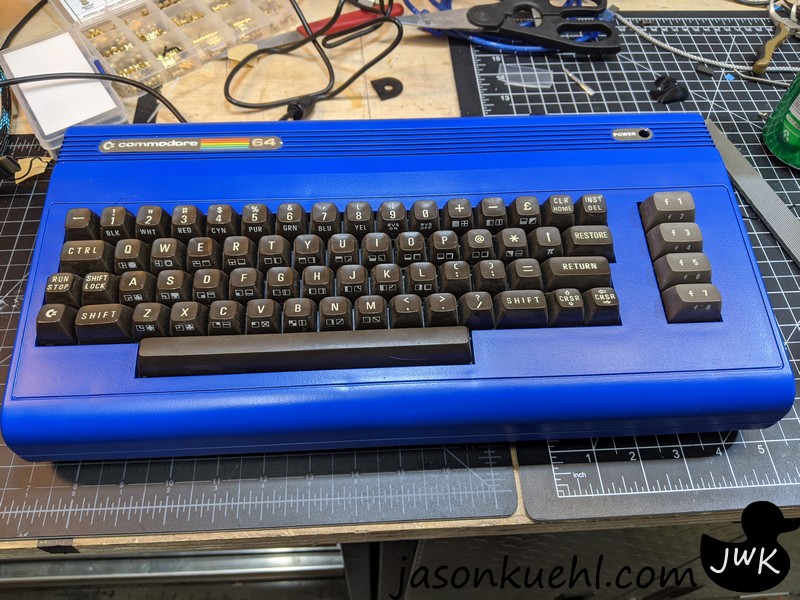
I think I should note and say that when I got this Commodore 64, it did not function. I did test it beforehand to make sure I was not murdering something that worked 🙂
Planning
As I started this project, I realized that this would be a good RetroPi station. I thought about doing a whole mini build inside it. However, I ended up settling on using a Raspberry Pi instead. When you compare technology, that means this new design will be over 100 times faster than the original Commodore 64.
The two requirements i had were that the system and keyboard both had to work. COVID, however, made all of this work even more of a challenge.

Internal Design
The internals on this are very, very basic. There are a few 3D printed components that keep the Raspberry Pi in place. Eventually, I realized that a Raspberry Pi 3 worked better with RetroPi so I switched. Unfortunately, the Raspberry Pi 4 version of RetroPi isn’t quite polished enough for this project.
Keyboard
The most challenging part was making the keyboard work. The components I needed could only be purchased in Europe and due to COVID I could not get them at all. Thankfully, I was lucky enough to find someone on eBay selling the same board I needed, and I got it for cheaper than it would have been coming out of Europe.

This board had solderable headers for a USB cable, so I soldered on a thread and connected it to the Pi. After connecting to the Pi, I was able to test out the entire keyboard. Everything was working correctly! Well, mostly correctly. There were a couple of issues with some keys, and I had to replace a couple of springs, but beyond that, it was in perfect working order.
Customization
For paint job, I decided to go with a very nice blue with a flat matte spray over the top of it to cut the shininess. That combination gave it that superior look that I was looking for. Below you’ll find a gallery of how this looks after its paint shop and a mini video of the spraying.

I kept as much of the original pieces that I could, from the Commodore logo to the LED; however, I lost the LED and will eventually need to replace it with something else.
Final Product
I love this keyboard and I use it all the time now. This was a great COVID-19 quarantine distraction project!
Gallery


