
Overview
Since I travel a bunch for work, and spend a lot of time in hotels I decided to build this setup. It has a router/access point, a phone in tethered mode, USB Charger, and a PI that can be connected to any TV.

The Plan
At the start, I wanted something that did the following:
1. Stream video
2. Act as a Wireless Access Point
3. USB charging
4. Maybe run retro games
5. Run random scripts
6. Watch over whatever room I left it in
To do this, I utilized parts from several other failed / non-completed/ or used parts from past projects.
Initial Testing: Raspberry Pi and Router
Initially, I only had a Raspberry PI 3B+ and a travel router.

First I tested the 3B+ for steaming video but unfortunately that didn’t work well. So I moved to an RPI 4 with 4GB of ram for streaming video and that worked.
I’m using the GL.iNet GL-AR750S-Ext Travel Router, which is a BEAST of a device (and only 70 dollars). It has OpenWRT on the device, with a pretty custom interface for most tasks. But it also has the “advanced interface” (which is just OpenWRT).
This router works perfectly for the following: (Screenshot below)
* Access Point to WAN Binding
* Ethernet To Wan Binding
* USB Tether to Wan Binding.
It’s important to have this if you want to add as many wireless devices to this access point. If you use the hotel provided internet (either LAN or Wireless), you’re going to be limited to 1 or sometimes 2 MAC addresses allowed to connect. The router will be your “single” MAC address from the hotel’s point of view. However, I’ve found you can’t use a Custom DNS when joining via their portal (Which is needed at most hotels these days). If you do join via a portal and use a custom DNS, you’ll need to disable that custom DNS until you get connected. Once you are connected you can go back to the custom DNS.
One other thing of note is session expiration. It’s 50/50 if hotels expire sessions, meaning you’ll need to rebind to the hotel’s wireless every 24 hours.
Version 2
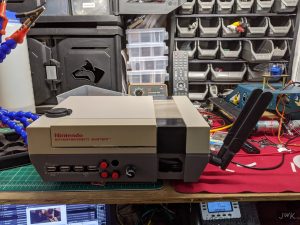
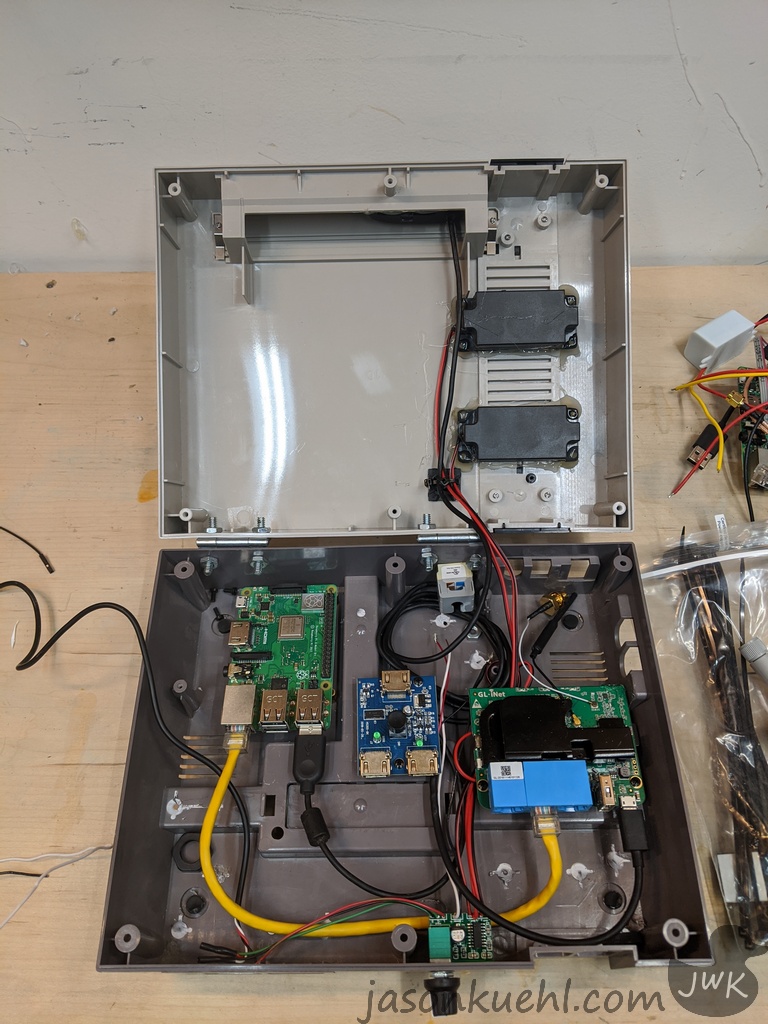 In the next version, I used an old Nintendo case to house all the electronics. Here are all of the components in this version:
1. 4 USB only power ports on the top
2. An Amazon Alexia
3. Speakers
4. PI 1 (RPI 3B+) for Retro Games
5. P2 2 (RPI4) For Steaming Video
6. Front USB ports for PI 1
7. Inside USB ports for PI 2
8. Travel Router For access point in my room.
9. External Antennas for the Travel Router
10. HDMI Splitter for both PIs
I added speakers and an HDMI Splitter. This is so that I can have 2 PIs: one for video streaming and the other for Retro games. Plus who doesn’t want to listen to stuff while video streaming and playing retro games?
I also added a room watch camera. This only watches the room while I’m away. This is a very important feature because I’ve had issues in the past with cash going missing while staying at hotels.

Additionally, I added USB Power ports from parts left over from my old car. I did this so that I could have portable power everywhere I went. But then I had to mess around with USB Bricks.
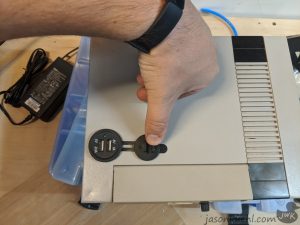
The back of the device has both USB and Ethernet that are connected to the travel router. This will charge the USB Device I have in tether mode to the router, and I can connect to the WAN point on the router in case there is an Ethernet there on site. If I needed this to be a LAN port, I could change that in the travel router very quickly.

The front has USB ports connected to 1 PI (The Retro Pi), four power buttons for all devices, and speaker volume control.
Here is the most updated picture of the project TES which is ready for field testing
Not Pictured or discussed here
1. 12v to 5v converter for PIs
2. 12v 10Amp power brick

 Testing and Test Results
I plan to test this when I head home for the holidays and see what works and what doesn’t.
Update: This project failed for a few reasons, but mostly it was too large and too complex for what it needed to be. I’ve already started to process of making a new one.

