
I wrote this some time ago. But thought I would post. I’ll send up an updated post later in the month.
MANDODUCK
Building this costume was a hell of a lot of fun. I learned a lot about costuming working with foam and even a few things with 3D printing that I had not known before. The video down below will go through the overall from start to finish building of the costume itself.
The one thing I want to go through a mention that this is not a 501 ready costume. I just built this because I wanted one. If you’re going to become a Mandalorian Merc or be part of the 501st, please go and check their website.
I’m already working on version 2, where it will be more flexible mobile, more comfortable to wear, and overall looks nicer.
Making the Costume: Foam
90% of this entire costume is entirely foam. I cut all the foam pieces on a laser cutter and then cleaned up and beveled all the edges on a band saw. After everything cut, I glue everything together with bonded cement, which is a standard product when working with foam. I’ll put a link to that down below.
Once everything was glued up, I used a plastic coat to coat all the foam to prep it for paint. I typically do two coats and let it dry overnight.
The next day I spent masking everything that needs to be covered. Then I spent time painting the details. Remember this is a very time consuming but important step so do not rush this!

Once the painting was done, weathering was next. Weathering is not like painting, and it was something that took me a little bit to learn. Also everyone has their own techniques but this is mine.
My weathering method is to take grays, browns, and blacks and put them onto cardboard and mixing them together to see what I liked color-wise. I then took a simple, very cheap chip brush (so I could get uneven strokes) and made sure there was minimal amounts of paint on the brush itself. I then started to brush this all over the parts, adding “dirt” and “grime” to the part. This is also a good time to hide your sins (ie issues/ bad cuts/ mistakes you might have had in your final product).
Helmet
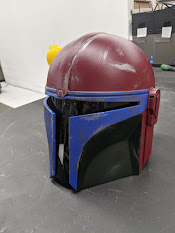
The helmet was by far one of the most exciting 3D printed things I’ve done. This is probably the fifth or sixth helmet that I’ve tried make myself. After seeing my struggles, a good friend of mine figured out a way to do a full-size helmet print as one piece. It took a lot of tweaking to finally figure out how we could do it, use no inside support material and to use as little filament as possible.
Once we finally had the process down, I came out with two helmets, one slightly smaller than the other. The one that fit better was the one I used for my costume.
My process for finishing prints is simple. I first cover the part with a sandable filler primer (found in a spray can). This will fill in all the gaps in the different layers across the entire helmet. I will generally buy up to three different sandable primer colors and layers and apply them over two to three days. This is so when I am sanding I know how many layers I have sanded through. You are going to want to let the primer sit entirely before you apply the next layer. I’ll link to my Instagram so you can see what happens when you do a significant amount of over spray.
Once you have an excellent set layer of primer, you can do your first round of sanding to see what things will look like. I typically start with courser paper and work my way down to the finer grits. Once you’ve done that, you can decide if you need more sanding, more primer, or even some Bondo to fill in some areas. I’m going to do some links down below to the specific stuff that I use that I’ve had the most luck with in using.
I will warn you: Sanding takes literal days to get right. I’ll put some progress pictures down below here, so you can see what it took. The overall work that went into this helmet was most likely 19 to 20 hours of just sanding. I probably could have put more time into the sanding; however, the con crunch was strong and I need to get this done.
Fabric
I am not a good sewer. So I find that it is easier for me to find clothing that is close enough to what I want and modifies as usual.
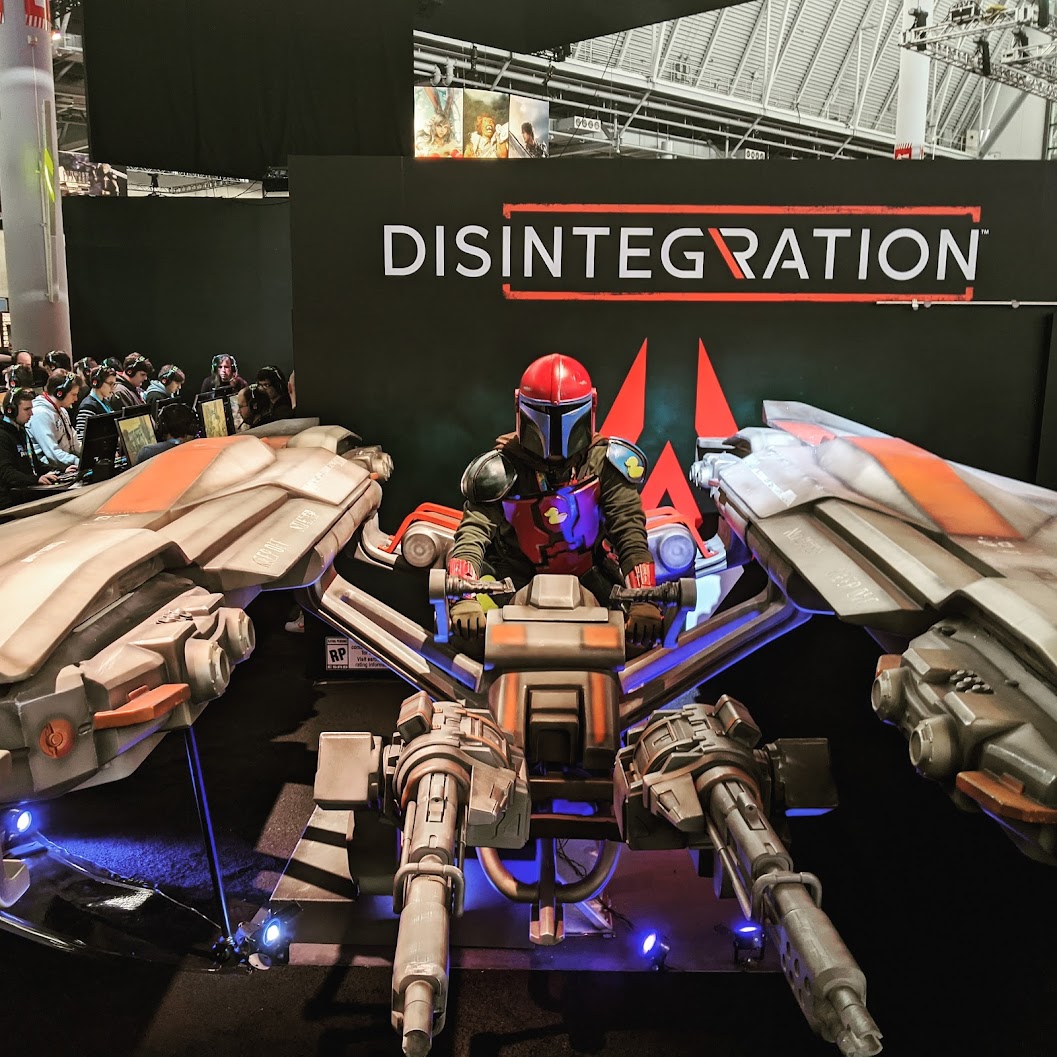
Final Cosplay

At the end of the day, I had a good costume that I had a lot of fun with at Pax East. I’m already working on version 2 that I hope to have ready by Pax East (whenever that will be, Thanks COVID).

