
So for a while, I really wanted a smoker. But I didn’t want to spend a lot of money on one, especially if I didn’t know if I would actually like doing it. So when one of my buddies gave me a really crappy smoker that he found on the side of the road, I decided I was going to make my own to try smoking out for myself.
The grill (s)
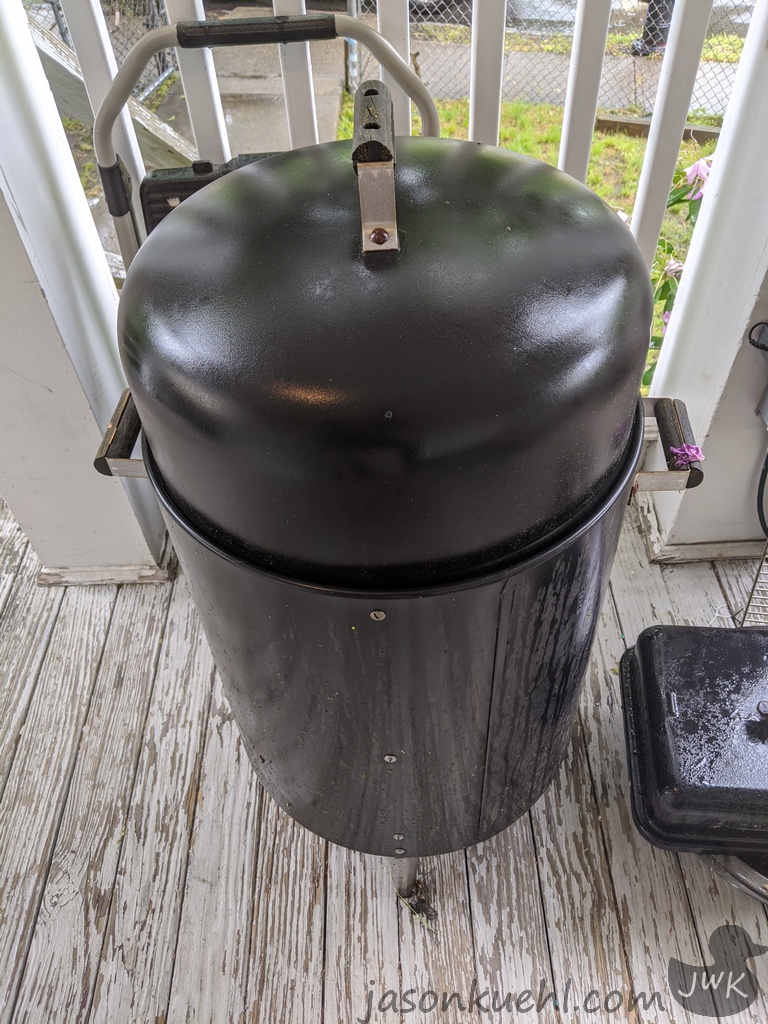
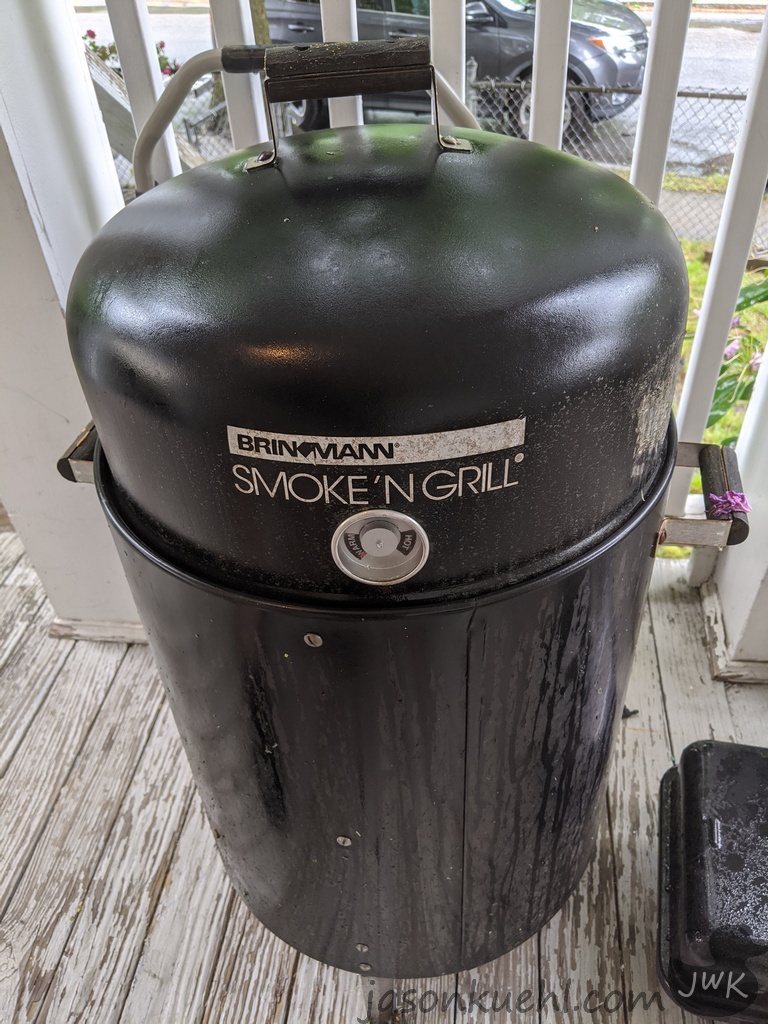
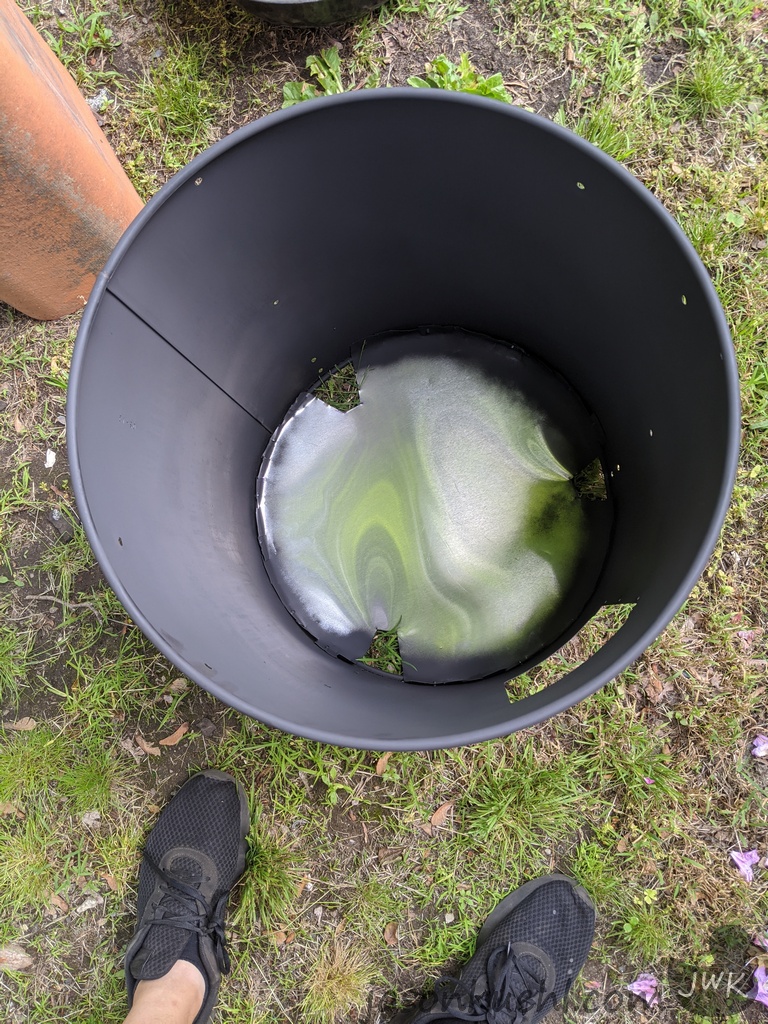
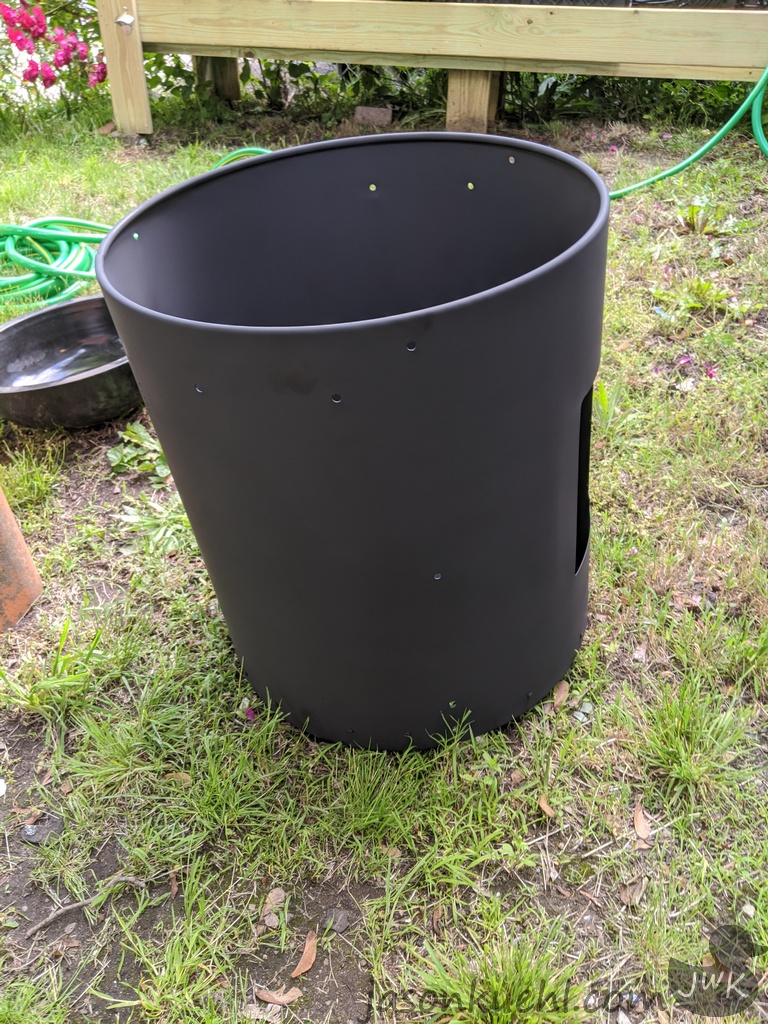
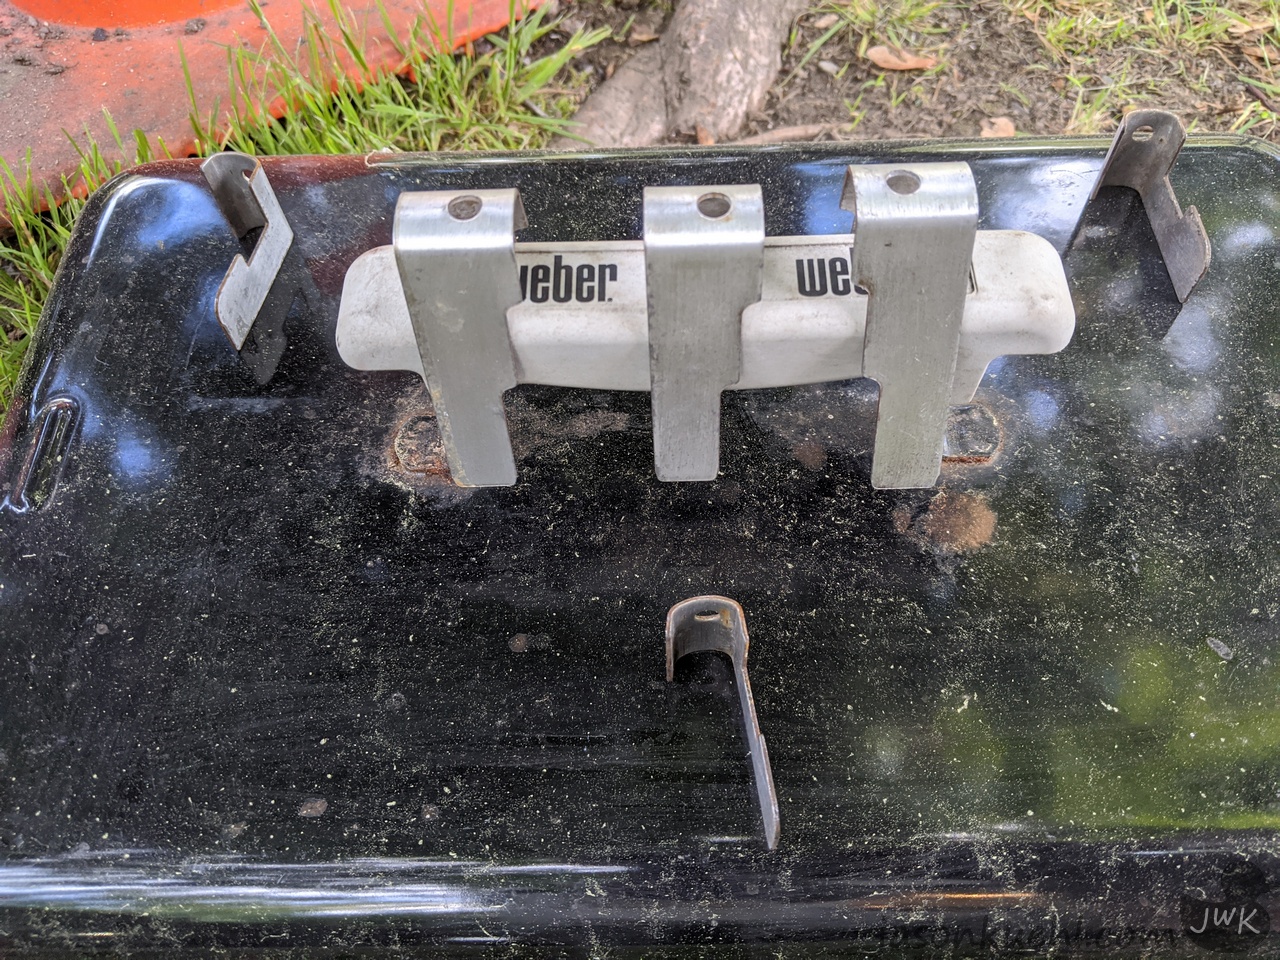
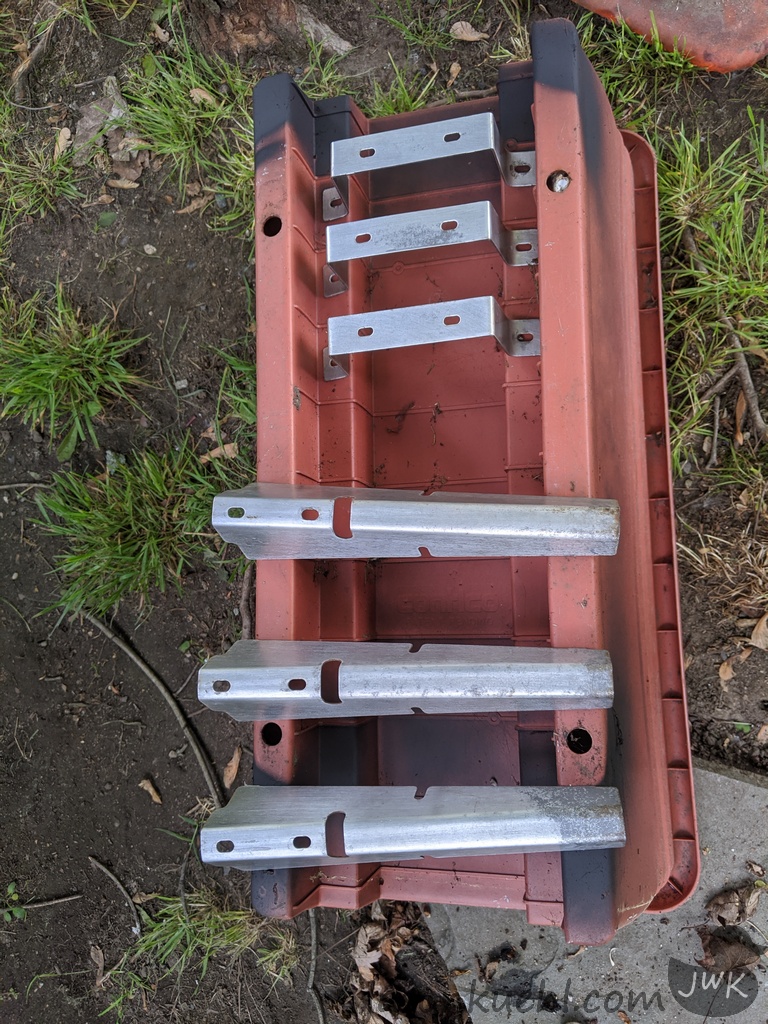
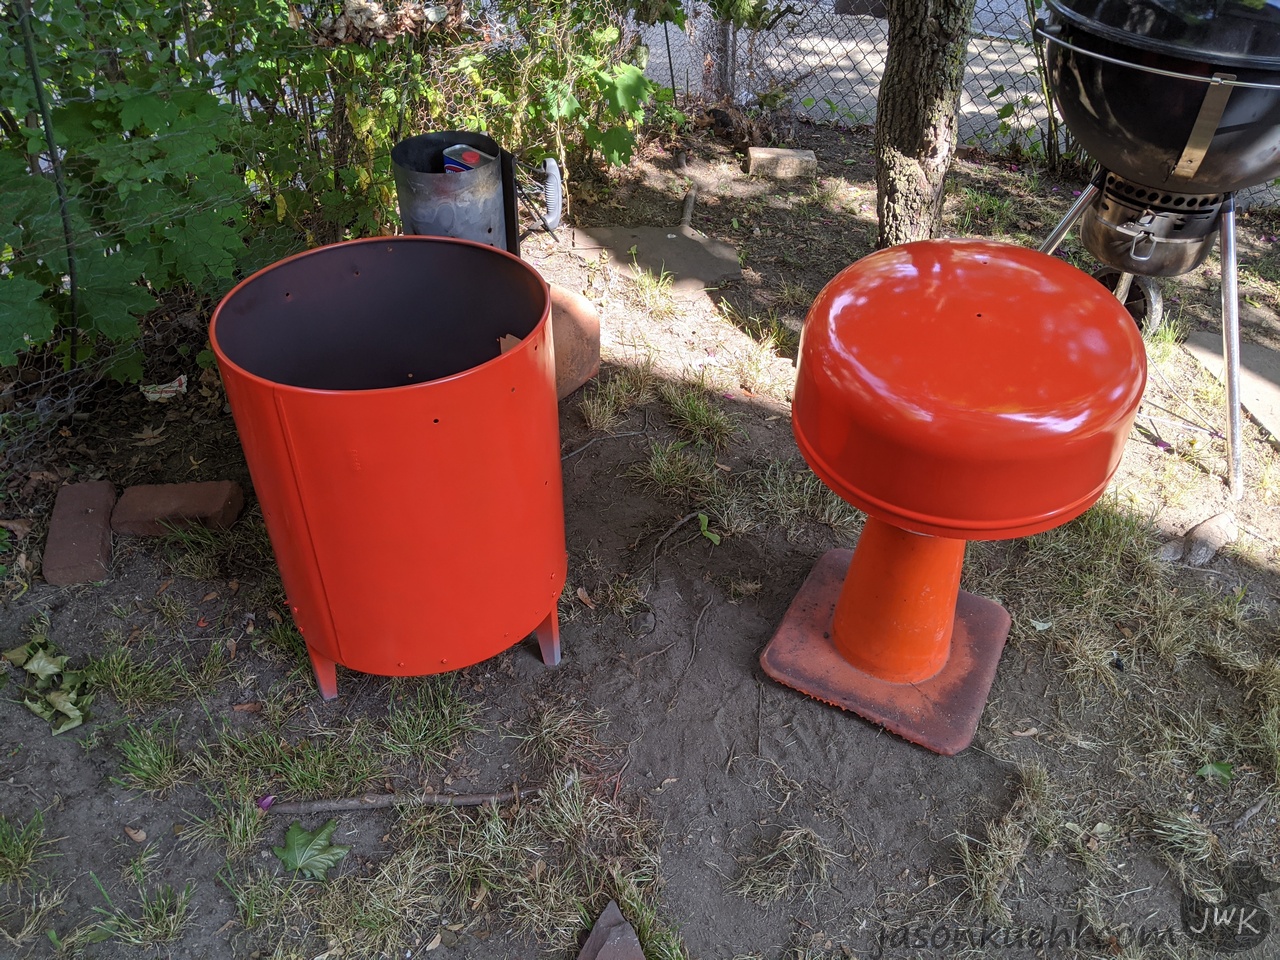
Here are the initial pictures of the smoker I was given. As you can see it wasn’t in the best shape when I got it (but it also wasn’t to the point I couldn’t make it work).


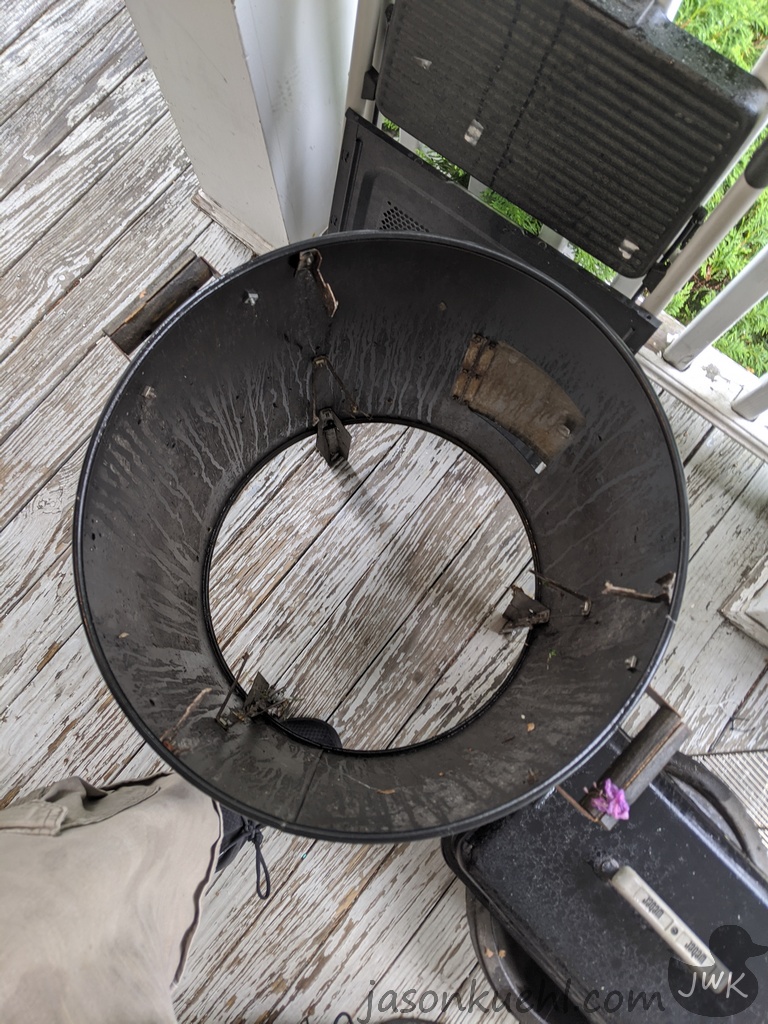
On top of this smoker, I found a gas-powered Grill on the side of the road. Knowing I didn’t want to use charcoal (very messy) for my first smoker, I came up with an idea of combining the two together to make a gas smoker.
Prep Work
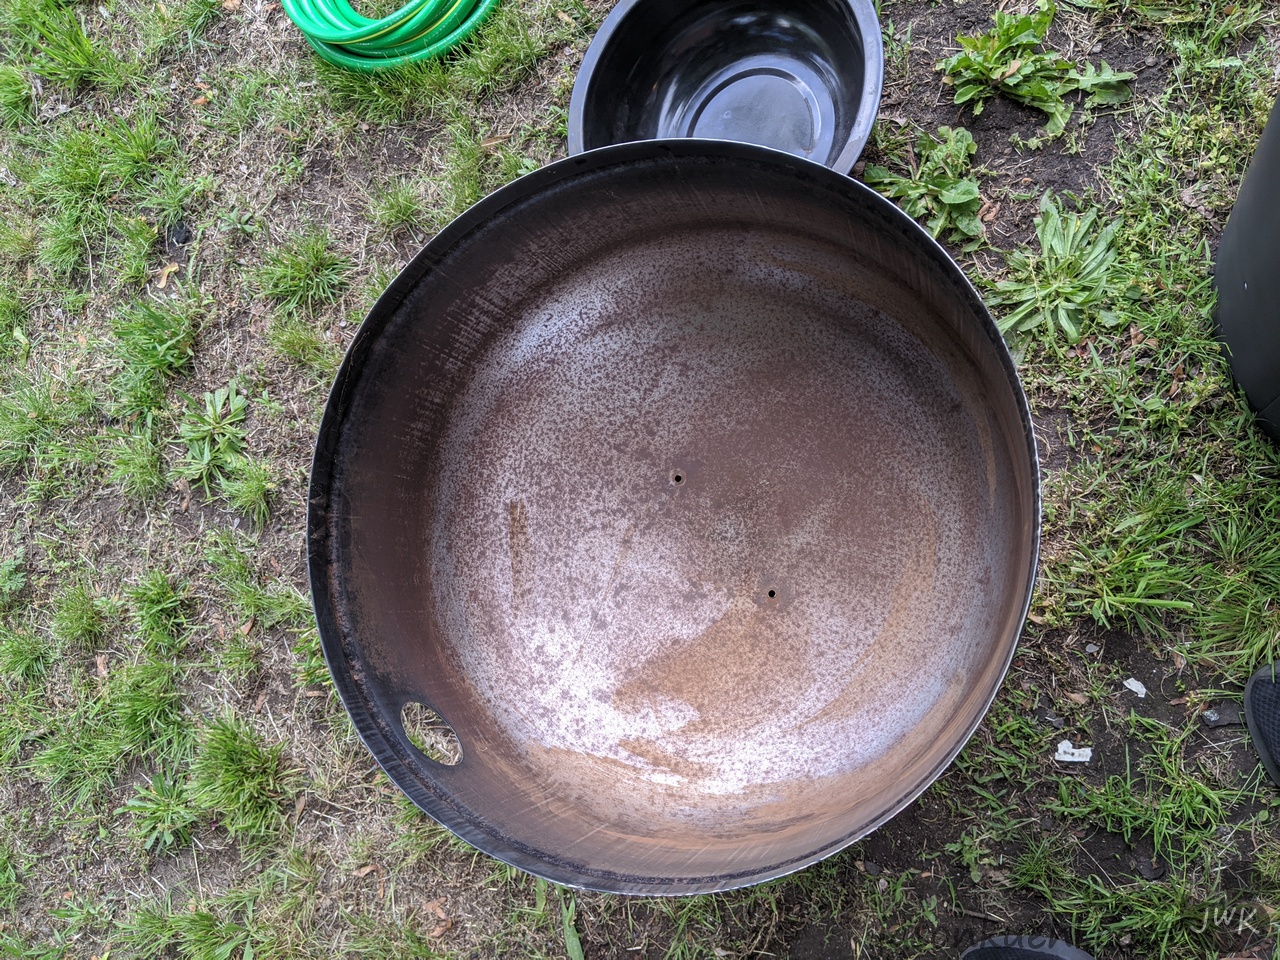
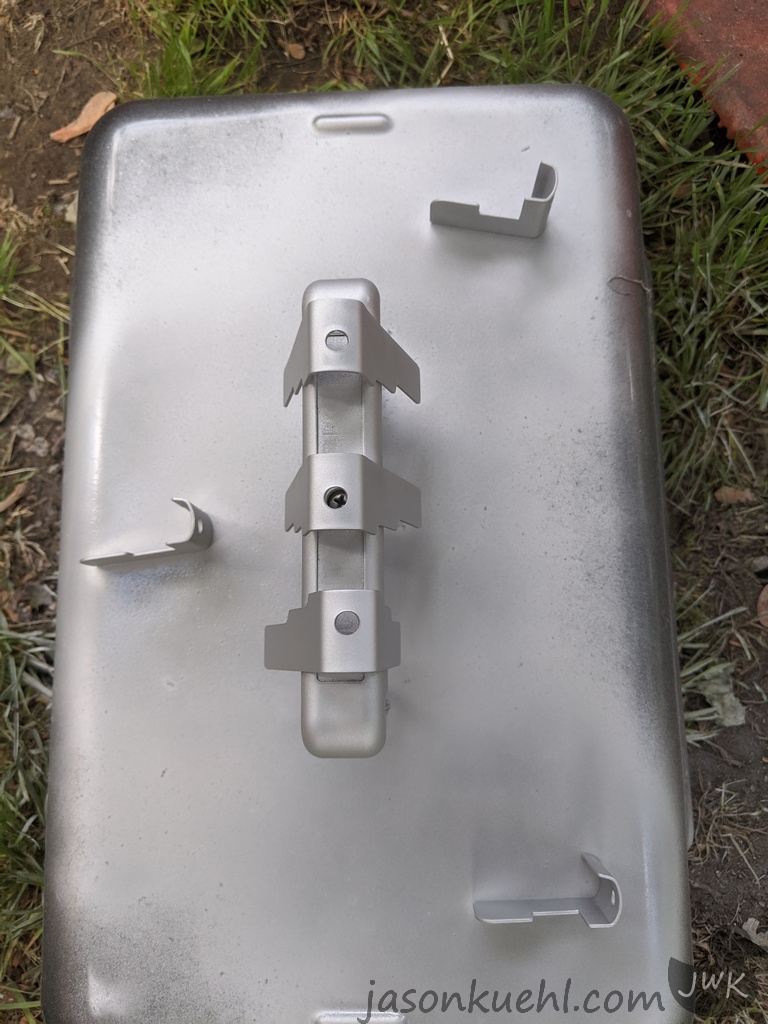
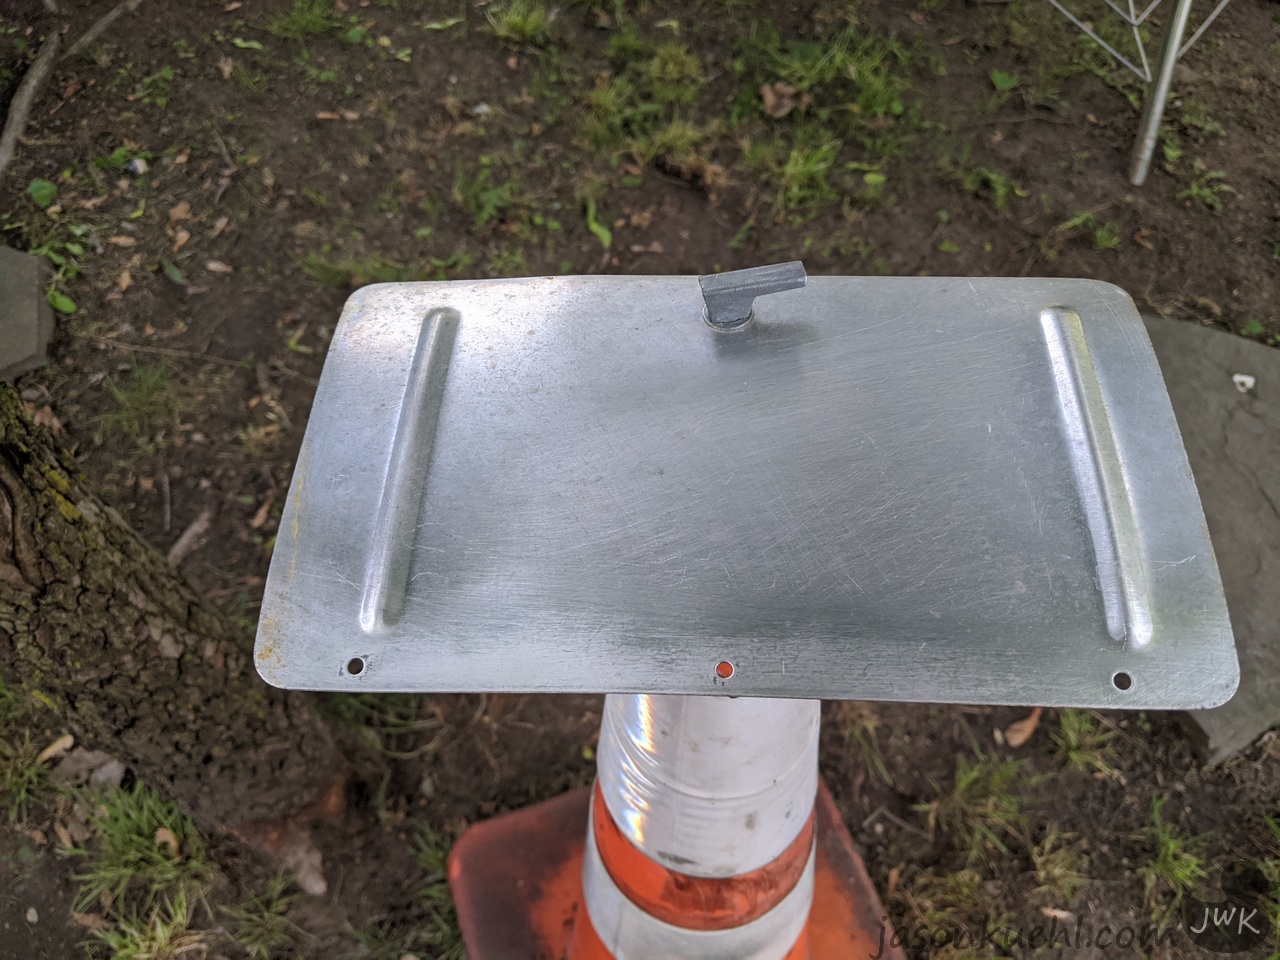
You can already tell from looking at the pictures that this gas-powered grill is in really rough shape. So for the first week or so I spent a lot of time sanding and removing as much rust as possible.
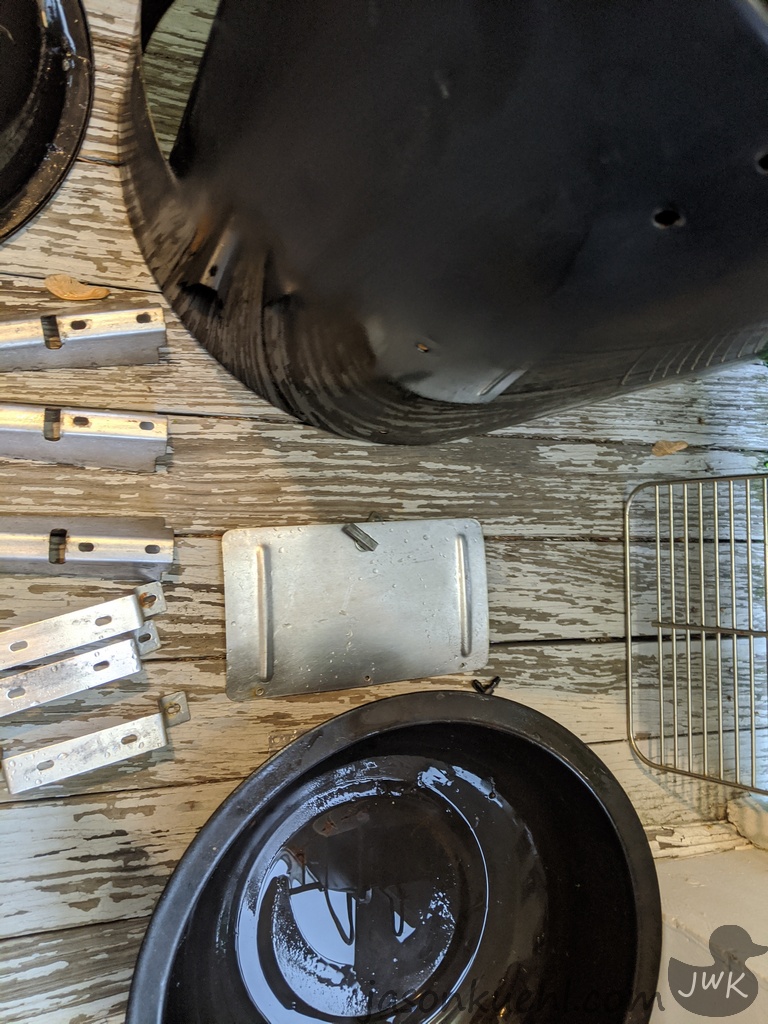
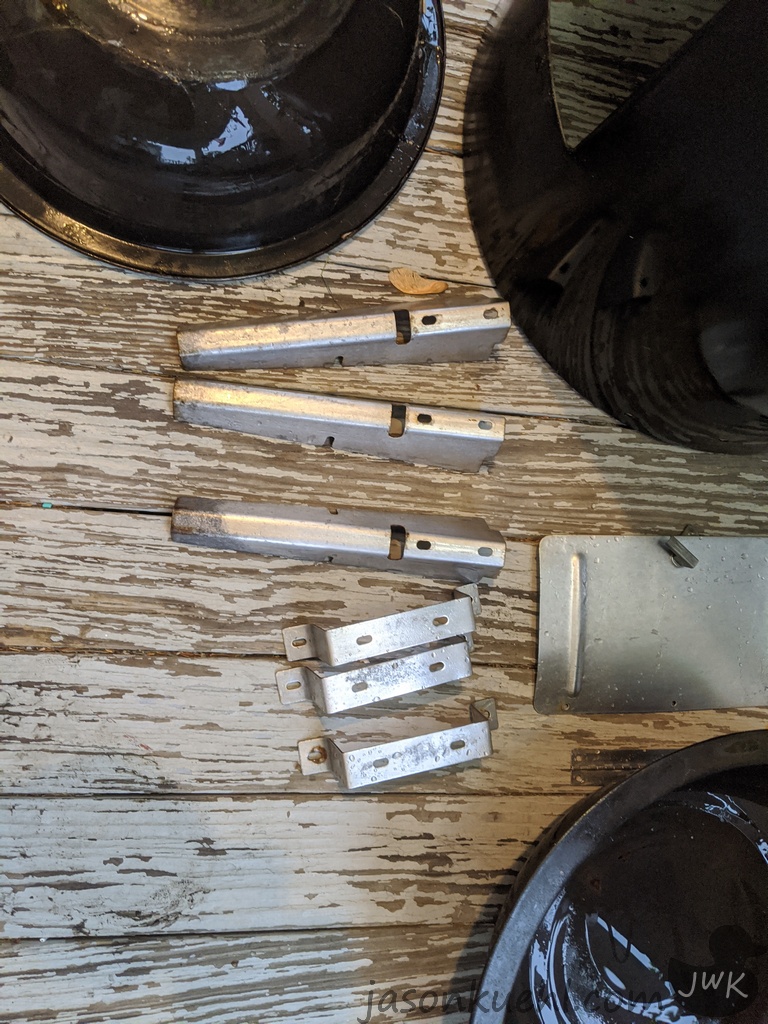


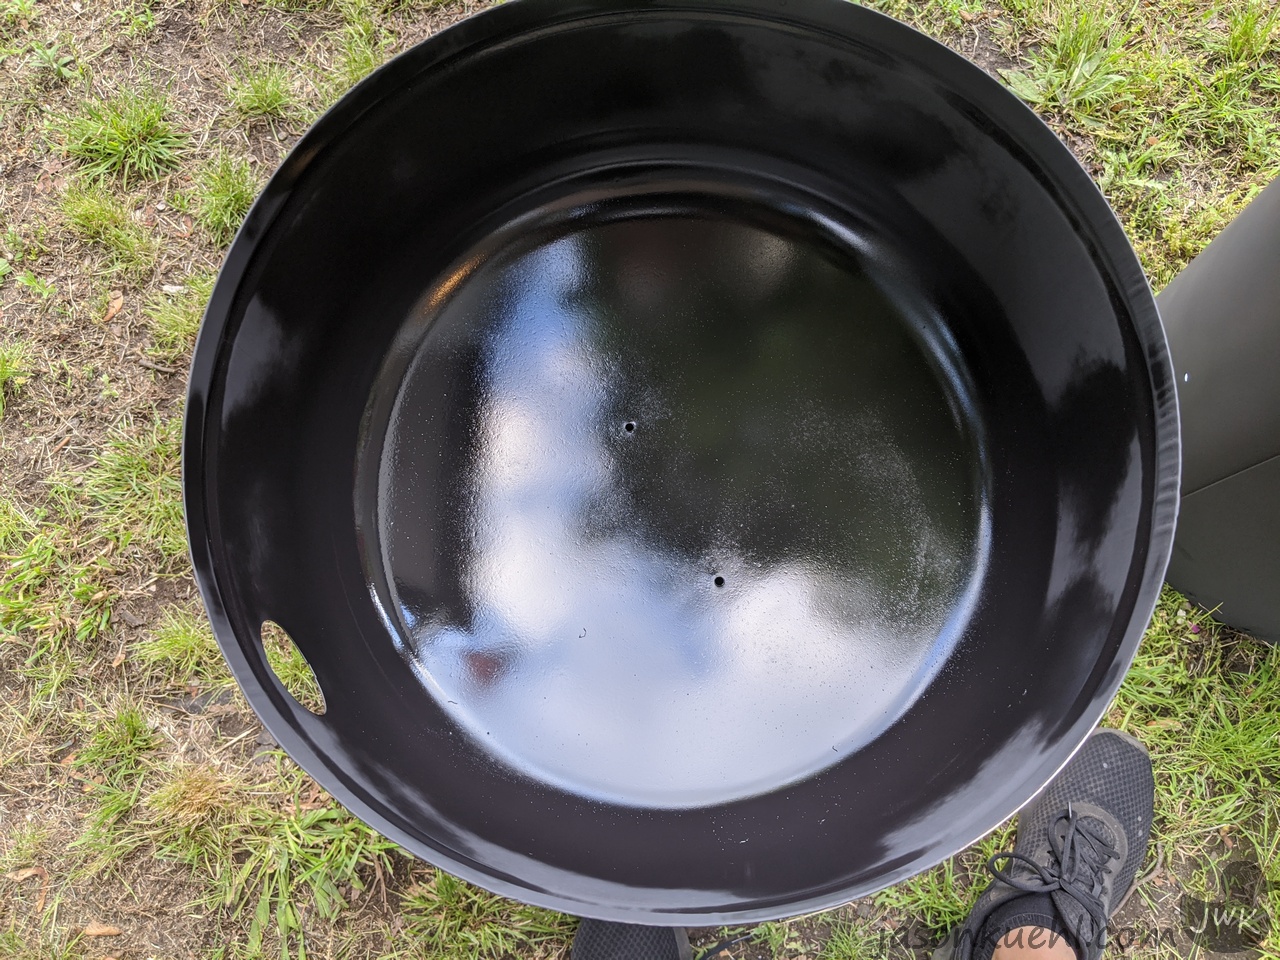
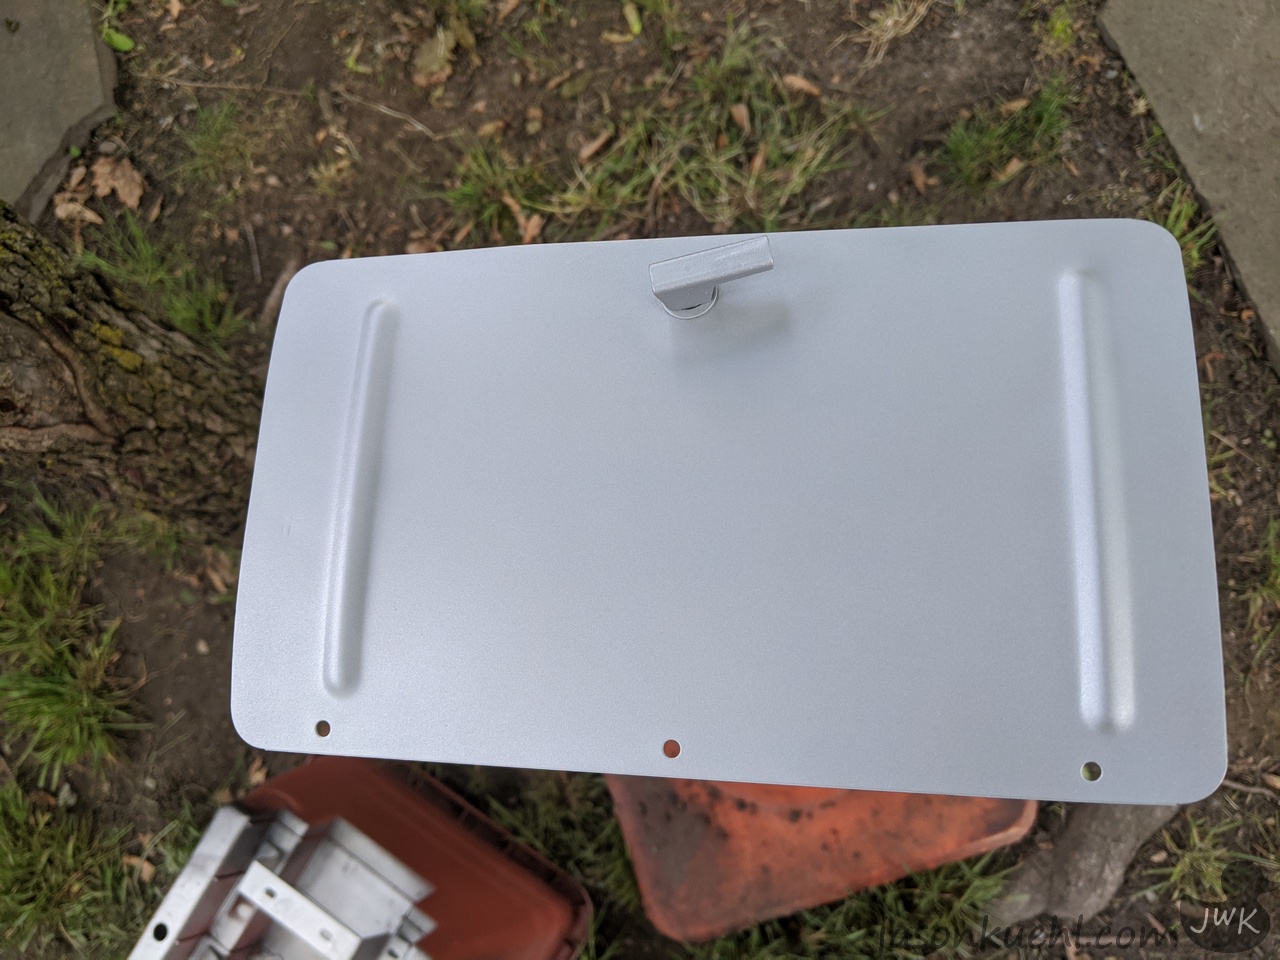
After getting most of the rust off and cleaning up everything else, I then started to apply high-temperature primer to all the pieces.


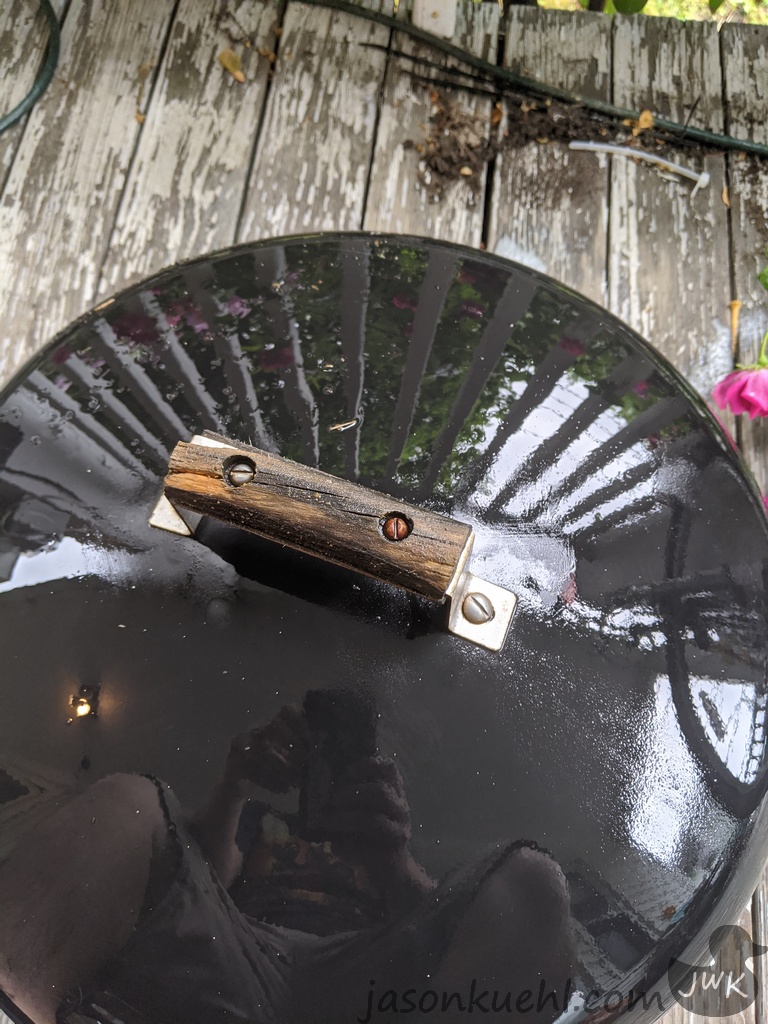
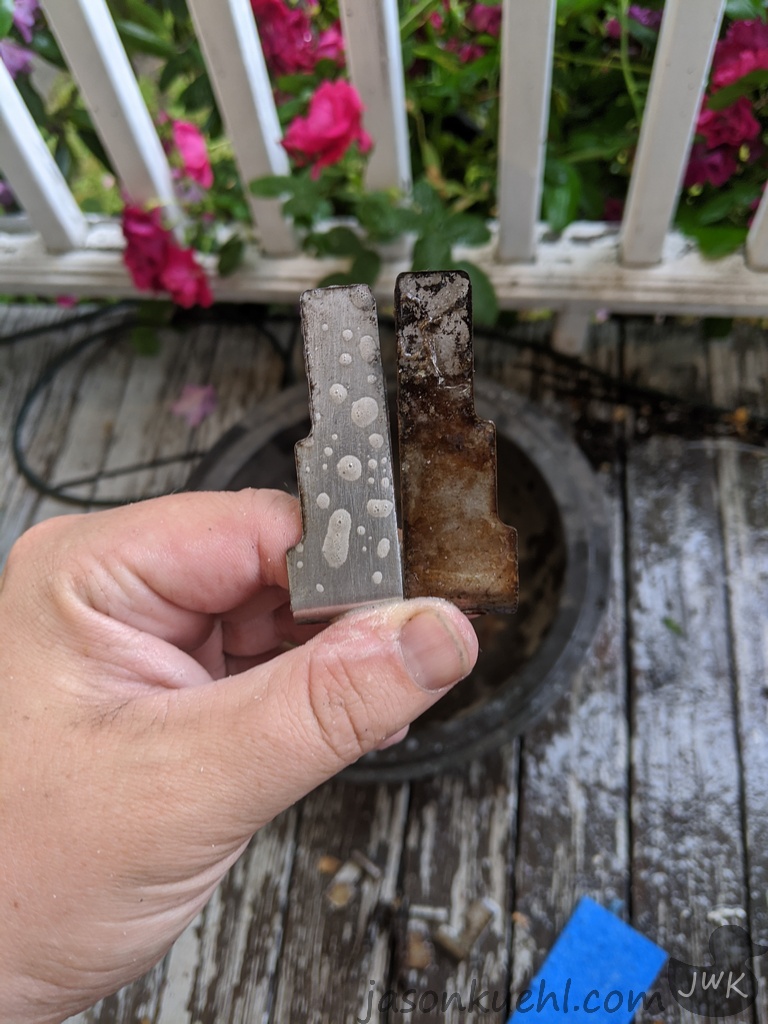
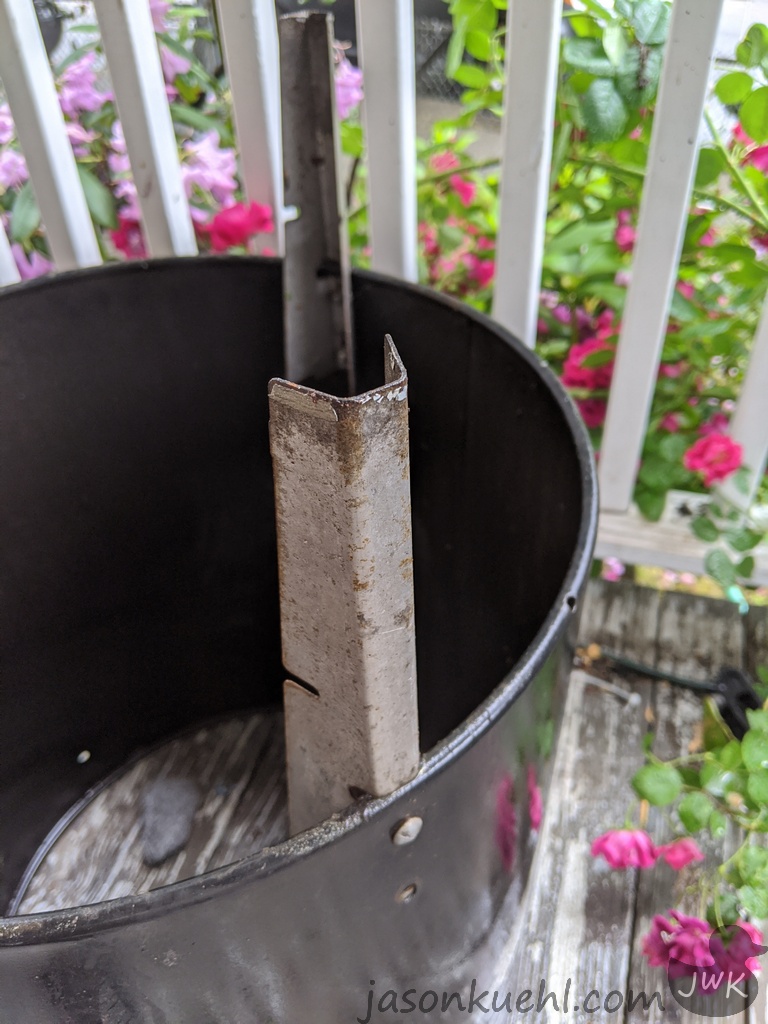
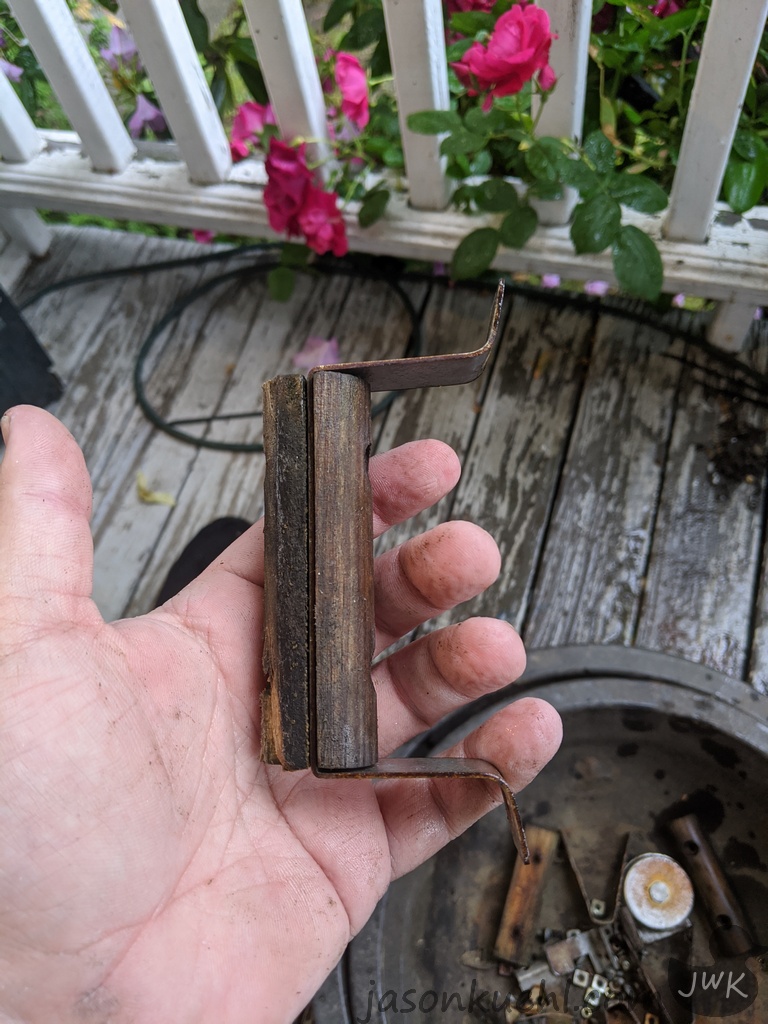
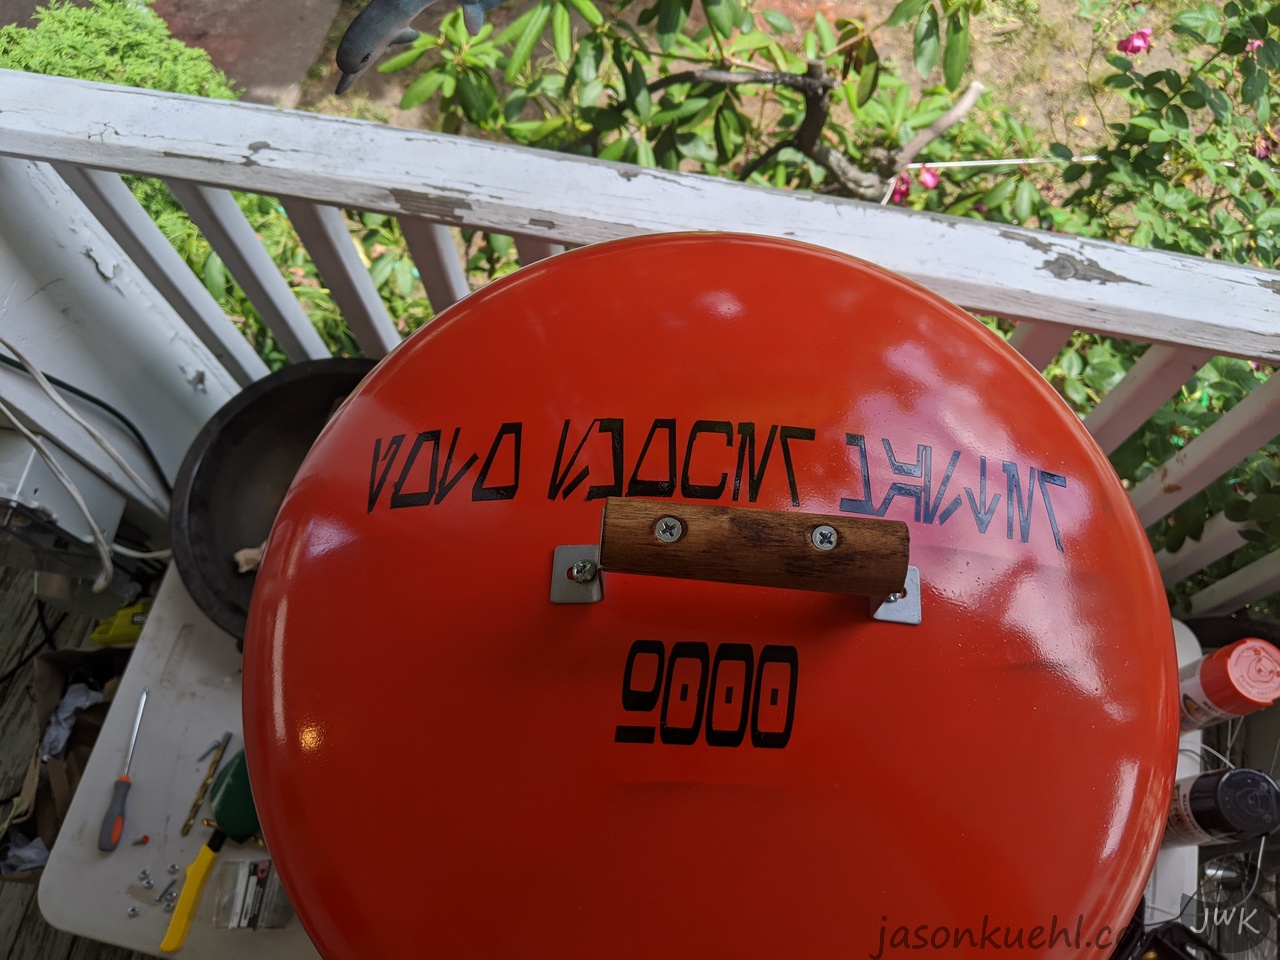
The Handles
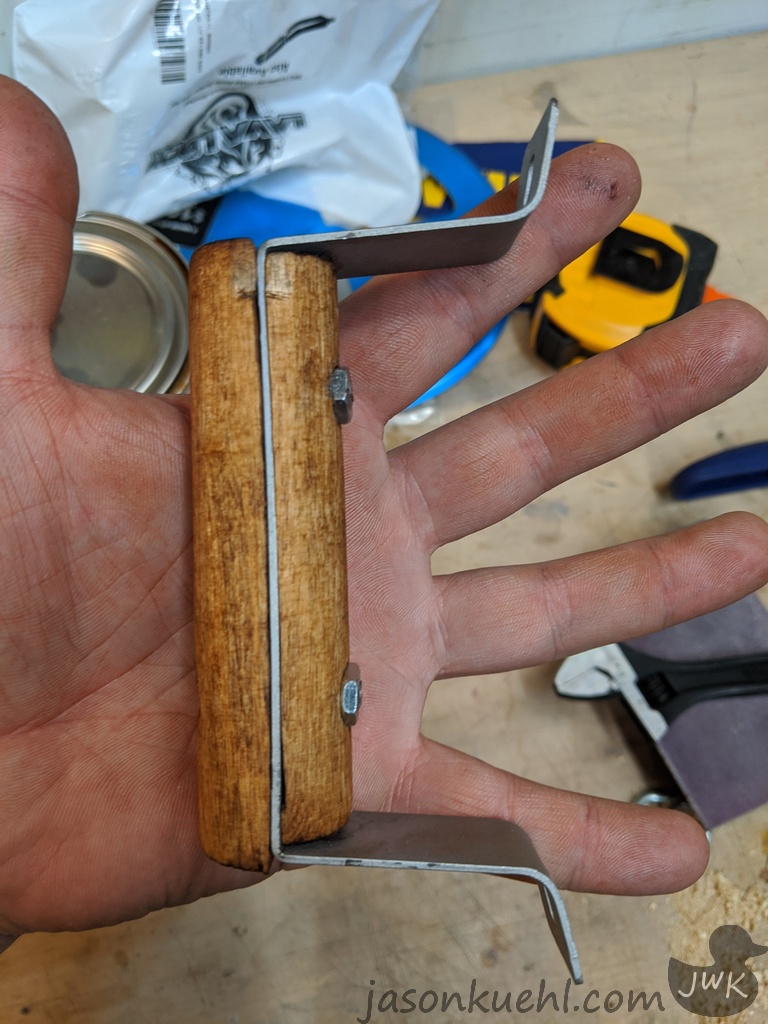
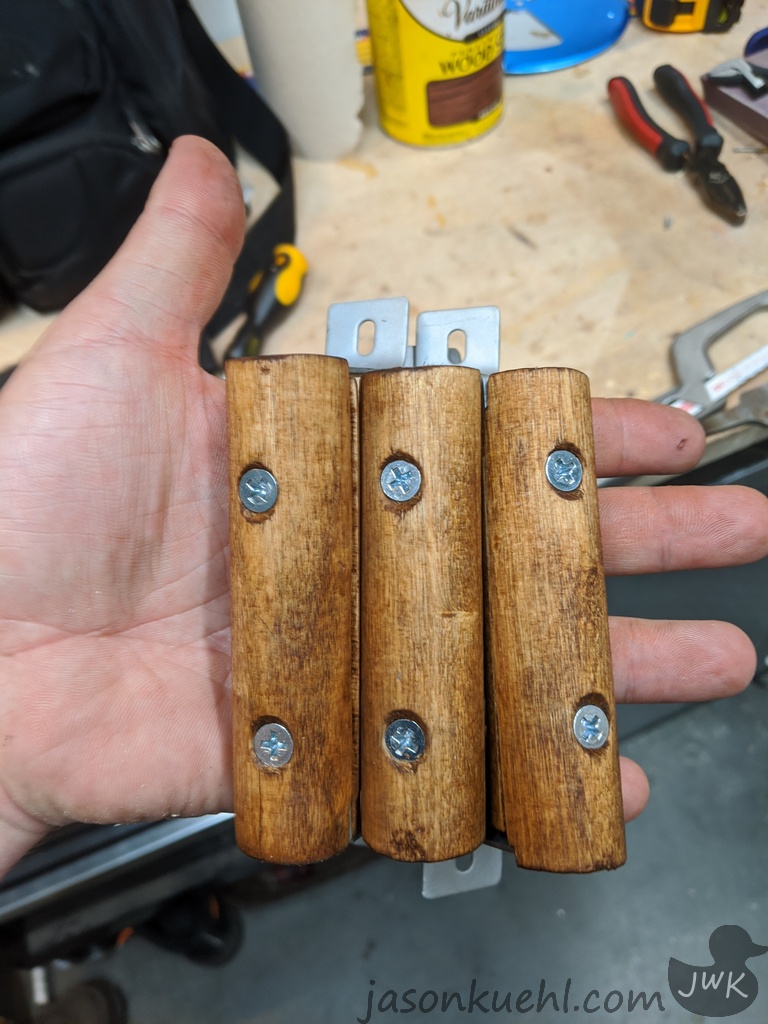
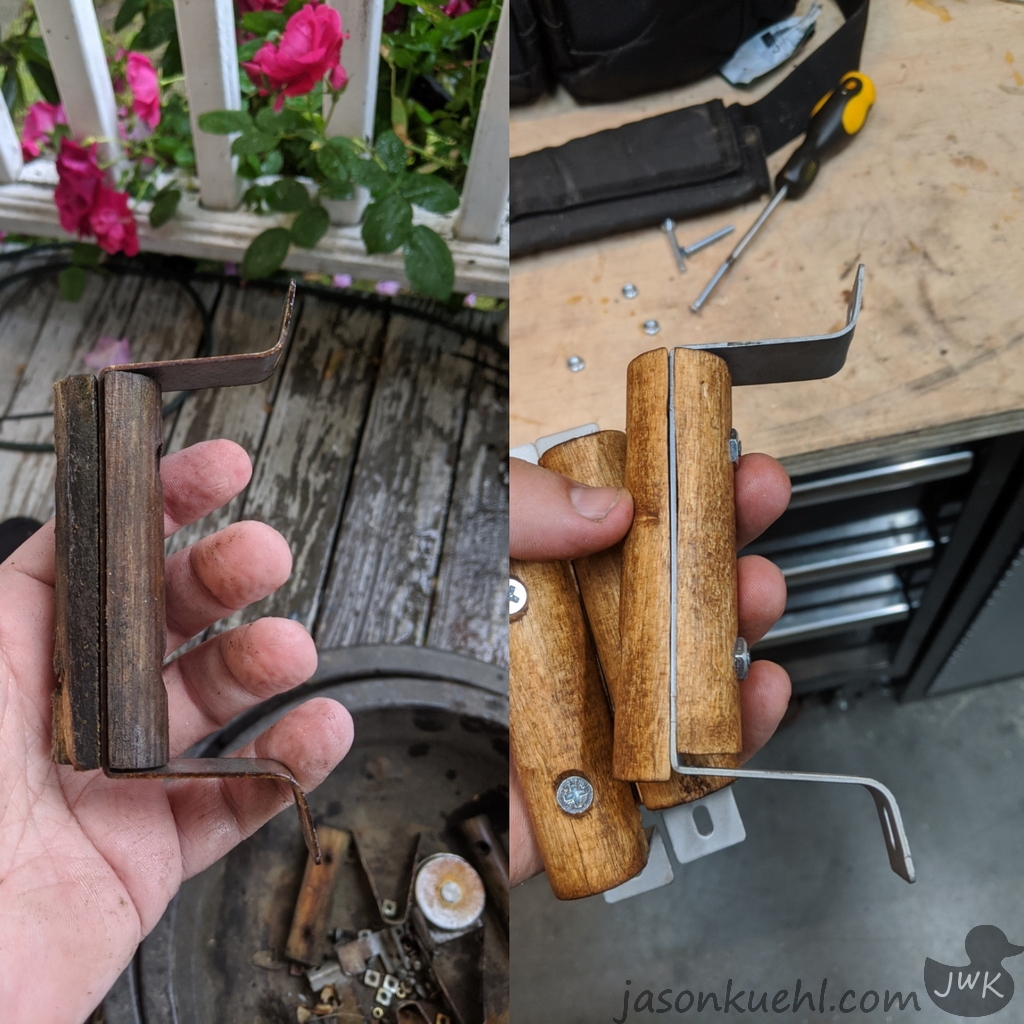
Thankfully, I still have access to my makerspace even during COVID-19 and as able to fix up the handle pieces there. I took a simple wood dowel, cut it right down the middle, cleaned up the metal pieces, and went and reattached. I added a little bit of varnish and weatherproofing on the wood to be outside and stay a little bit safer from the elements. (seen below)

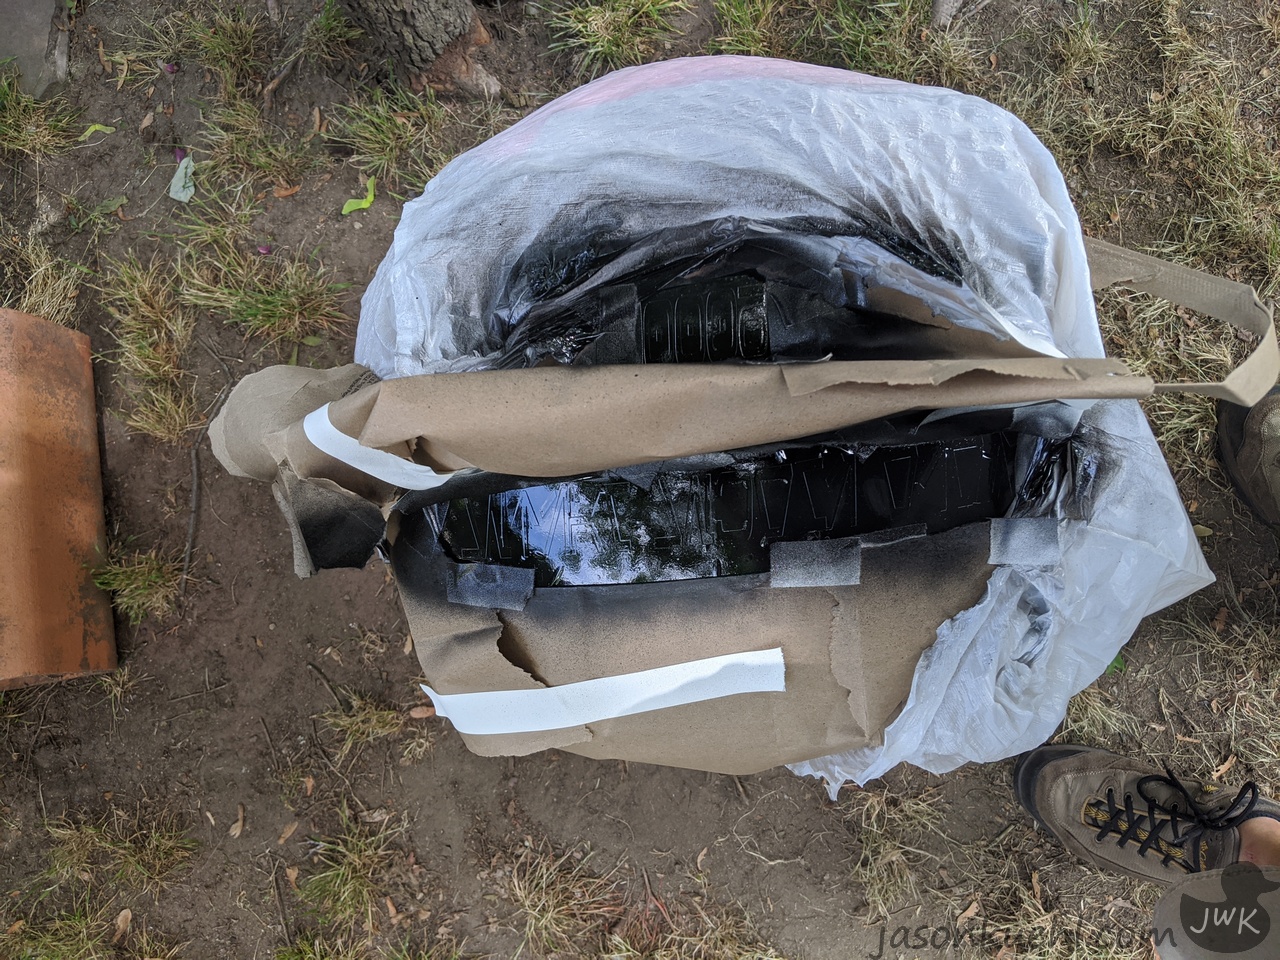
Painting
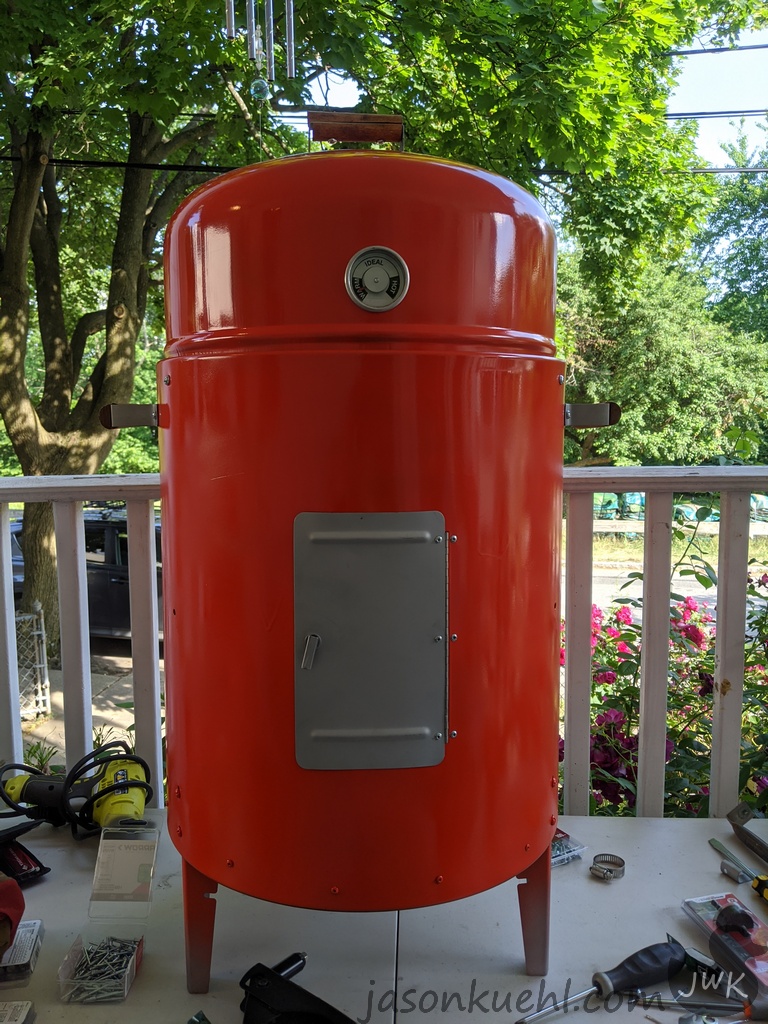
With those parts finally done, I needed to pick what color I wanted for all the main pieces. I decided I didn’t want it a simple black or gray color because that’s just boring, so I picked Orange. So I found a high-temperature orange spray paint and used that to coat all the pieces.
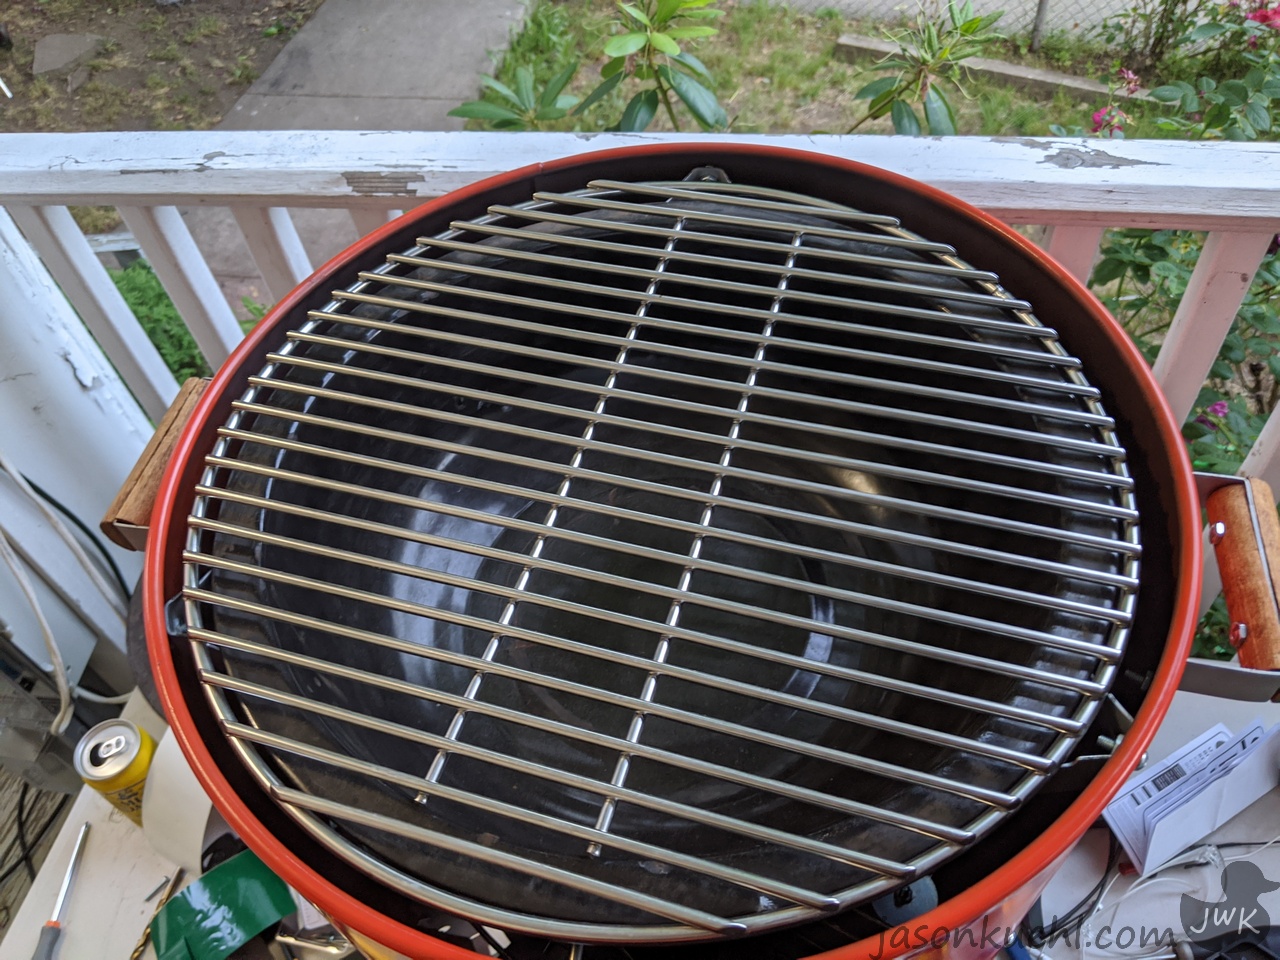
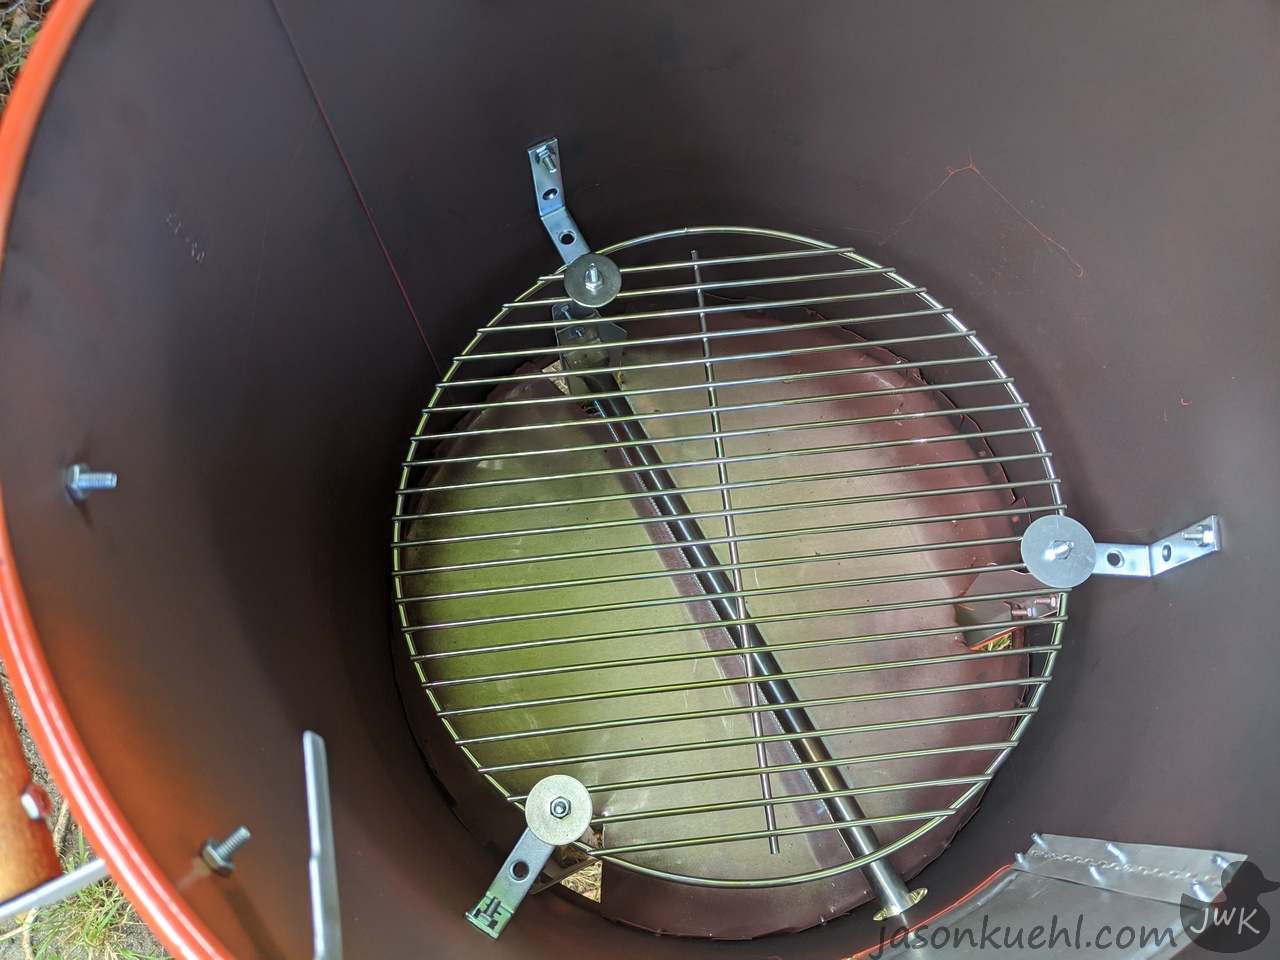
Grill Top and Water Bowls
The most expensive parts of this build were honestly getting the two grill tops for the insides. The interior 12-inch Grill top only cost me $11; however, the top 16-inch Grill top cost me $42.
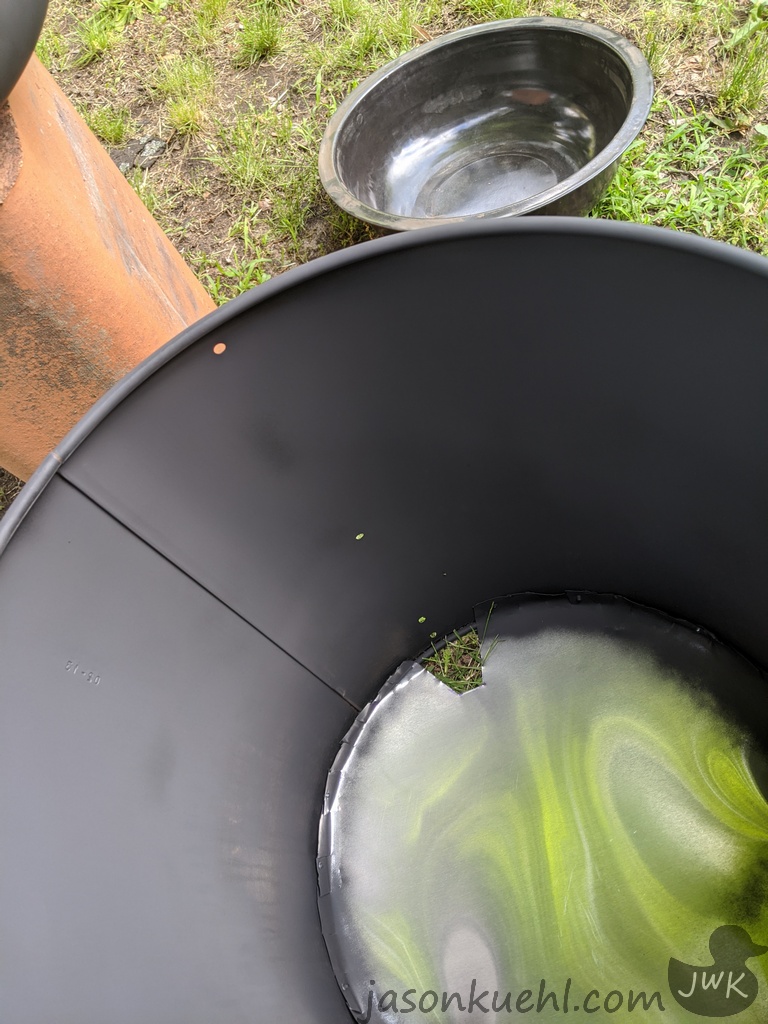
Thankfully, the smoker still had the water bowls and they were already in pretty good shape, so all I had to do was clean those up with a little bit of sandpaper and then primer.
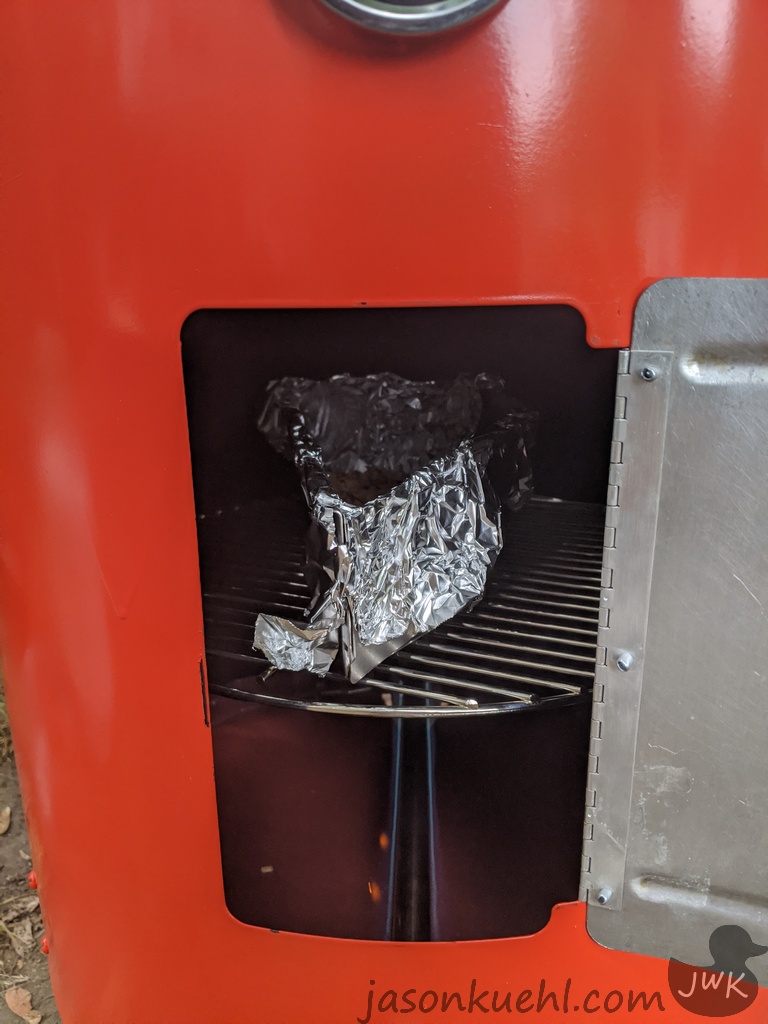
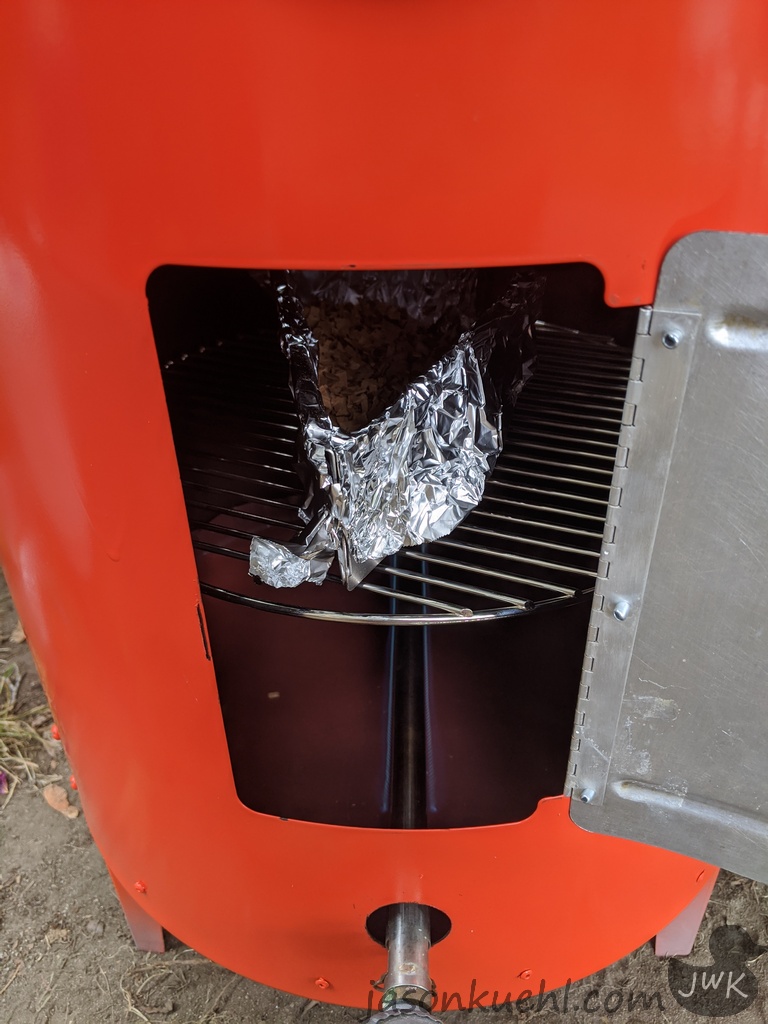
The Gas Conversion
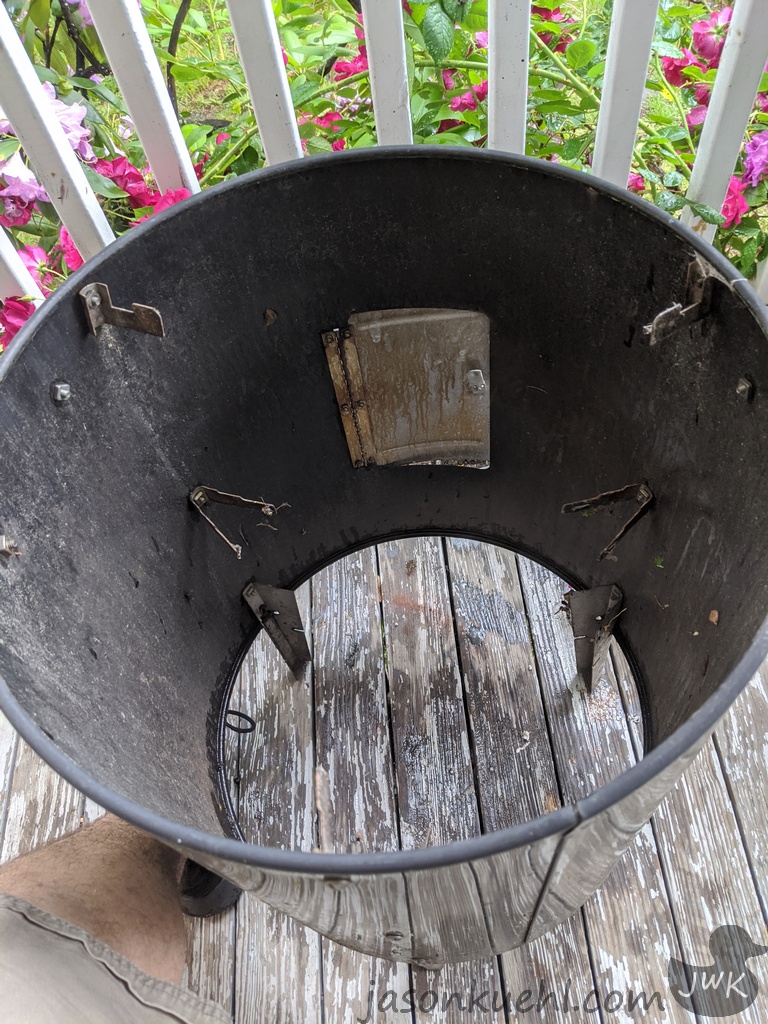
Because I’m converting this to be gas-powered, I needed a different way to hold chips. To do this, I put a 12-inch Grill at the bottom near the door entrance so that I can use a simple Coal Chest for holding the wood chips above the gas flame. This actually worked out really well; however, I need to use much bigger chips in the future for it to make a really nice smoke.


I then added a thermometer down by the gas itself. Although there was one thermometer already on the lid, it is not very detailed (it gave more temperature ranges than actual numbers). So I added a second thermometer at the very top, so I actually know what the temperature is.
Finally, I need to add a vent to allow heat to escape. I was initially very concerned with how this was going to retain heat; however, after my first two times smoking, I actually overcooked the meat because it was retaining heat a little too well.
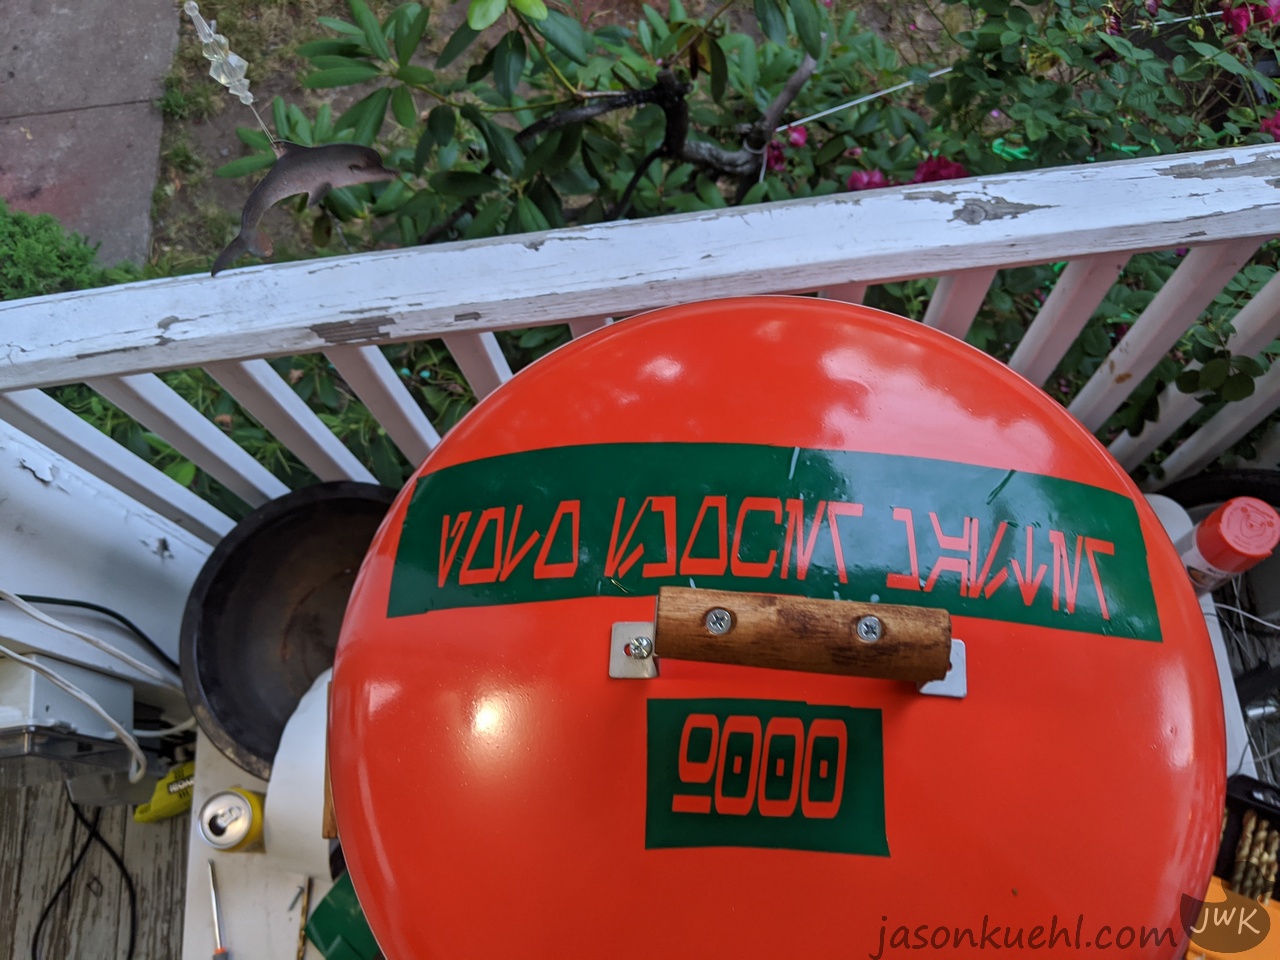
Final Touches
I needed to name this smoker. I got the idea to use Aurebesh from Star Wars. The top says, Yolo Grill Master 9000
Future Plans
The two significant changes I’m going to do on this build is to add another thermometer and to add a vent or potentially a smokestack to allow more heat to escape.

